Table Of Contents
Understanding Fraud IQ at the Application Level
Fraud IQ
Fraud IQ is an automated tool, seamlessly integrated with Equifax, designed to assess the risk associated with a mortgage application. Leveraging Equifax's data and algorithms, it automatically conducts checks on applications upon ingestion, returning a comprehensive score. This score triggers flags based on pre-configured thresholds set up in the Manager Portal. This tool allows users to seamlessly manage fraud detection and implement effective risk mitigation strategies.
Note: This feature is tenant specific and may not be enabled in every environment. If you do not see the Fraud IQ Management option in your Manager Portal menu, it is not enabled in your environment.
Understanding Fraud IQ at the Application Level
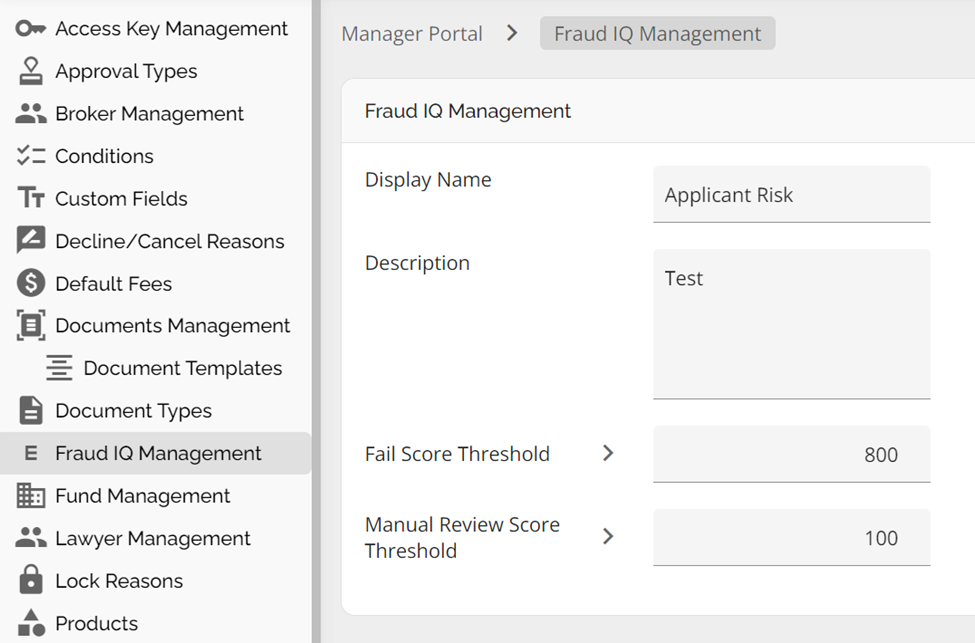
The first step is that the parameters need to be set up in the Manager Portal. In the image below, we have set up test parameters:
At the application level, the system runs a Fraud IQ assessment according to the configured parameters upon application ingestion. The required fields for a successful Fraud IQ check are: Borrower’s First Name, Borrower’s Last Name, Date of Birth, Complete Current Address, Closing Date, and the Loan Number on the requested mortgage. Fraud IQ requests also require requested mortgages to have a closing date and a loan number. If any of the required data is missing, it will trigger a validation error.
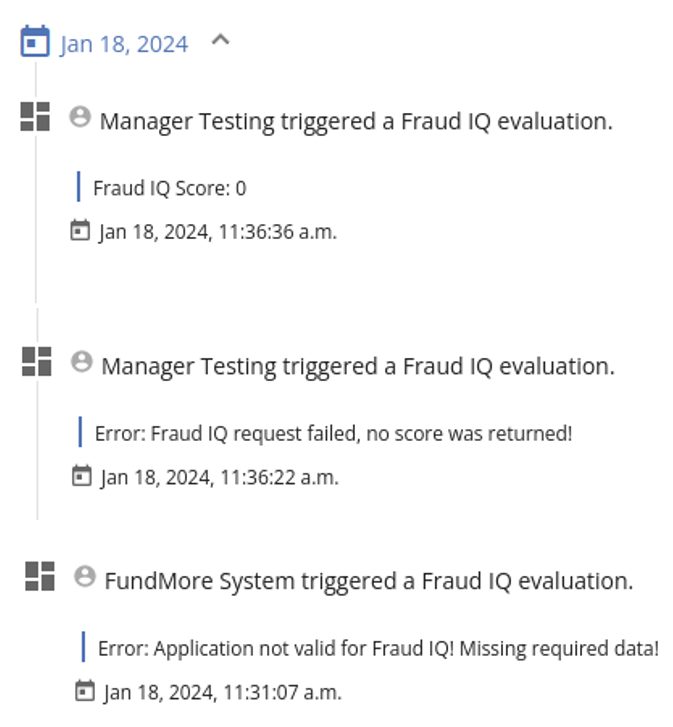
When there is a validation error, a history log will be created in the application’s history. This log will include a detailed error validation message, similar to the one below:
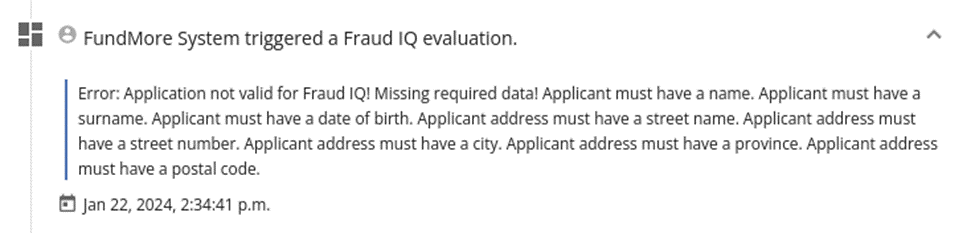
There will be an entry, per applicant request, in the application history to indicate there was an error with the Fraud IQ request which is useful for audit and tracking purposes.
Once the assessment is completed, the system will provide a response (i.e. a Risk Flag) based on the parameters set up in the Manager Portal. Any user assigned to the deal will receive notifications with details about any flagged issues, and a counter will appear on the risk flag icon at the bottom right corner of the screen.

Here is how the feature works:
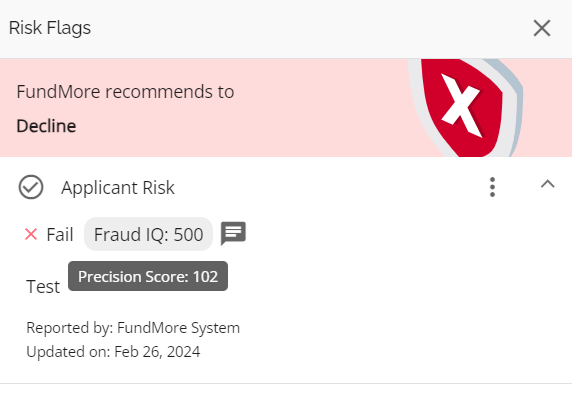
- Fail Risk Flags: If the score exceeds the Fail Score Threshold, a Fail Risk Flag is generated. In this case, the FundMore recommendation would be to decline the application. Only users with appropriate permissions can resolve Fail Risk flags. Others can view the flag or have a user with appropriate permission resolve the flag if they believe there are mitigating factors.

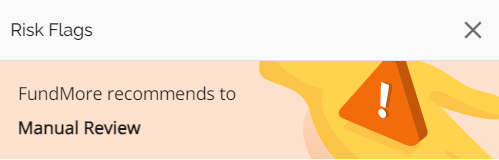
- Manual Review Risk Flags: If the score exceeds the Manual Review Score Threshold but is lower than the Fail Score Threshold, a Manual Review Risk Flag is generated. In this case, the FundMore recommendation would be to Manually Review the application.
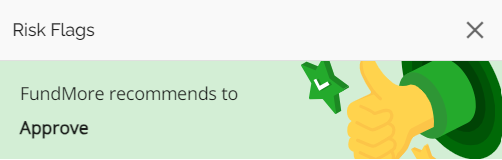
- Recommend for Approval: If the score is less than the Manual Review Score Threshold, there will be no Fraud Flag and the system will recommend an approval.
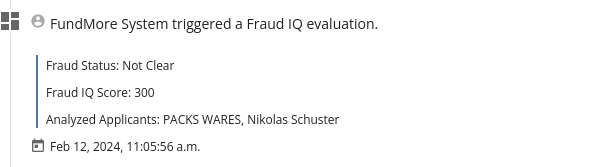
When there is a Fraud IQ response (Fail, Manual Review or Approve), we include the Precision Score for Fraud IQ, along with the Fraud IQ score. Unlike the Fraud IQ score which is based on the Fraud IQ configuration in the Manager Portal and is used to render recommendations, the precision score is informational only. It does not inform any system recommendations. To view the Precision Score, simply hover over the Fraud IQ score in the Fraud IQ pop-up window.
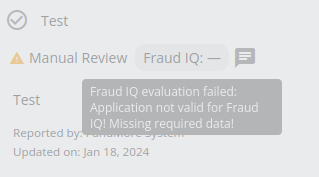
- Error Status: If the Fraud IQ check returns an error, a flag with an “Error” status is displayed. In such cases, the system will return with no recommendation.

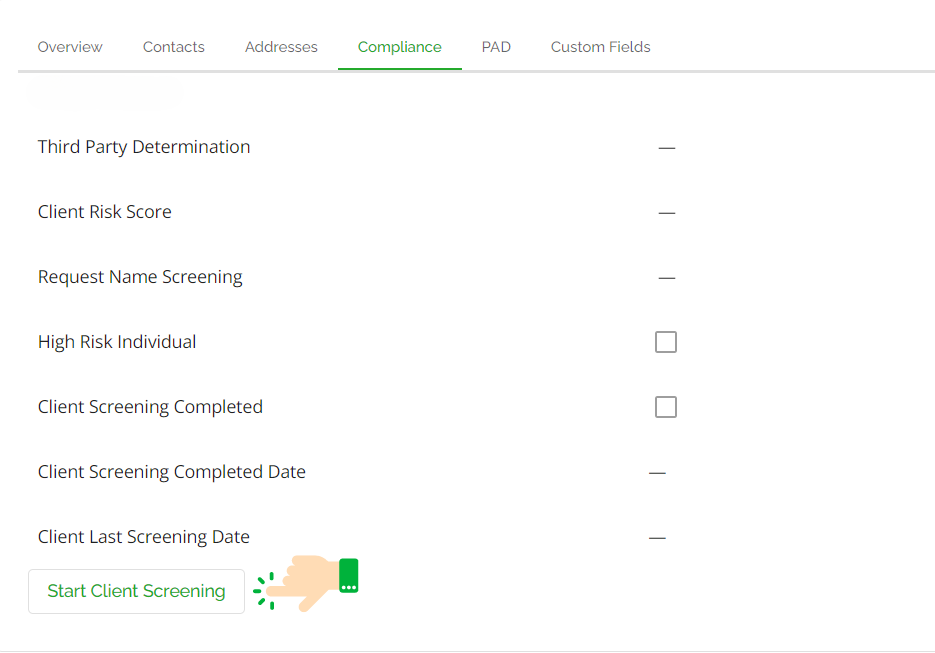
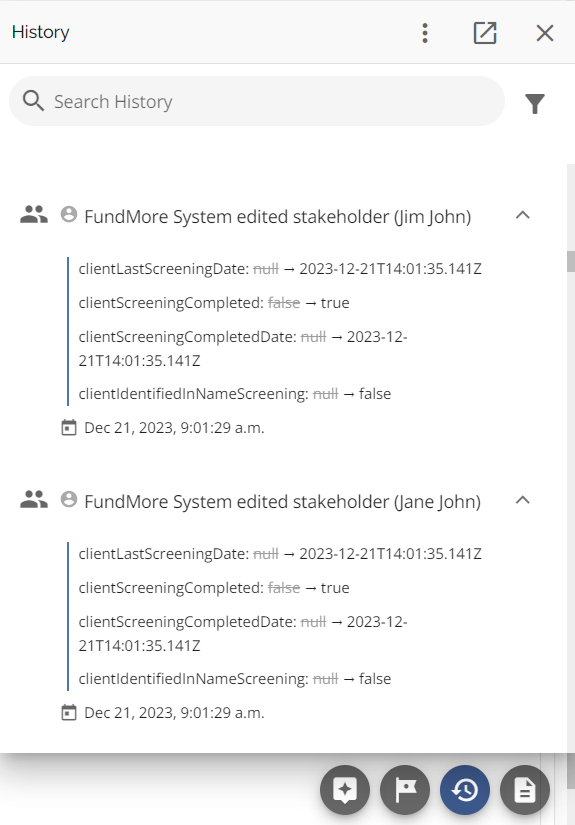
An additional indication that the check was unsuccessful is that the Client Screening Completed box in the Compliance Tab of the Stakeholder widget will be unchecked and the Start Client Screening box will be enabled. This is the only time this box will be enabled. Users can resubmit the Fraud IQ check but only if the initial call has failed. If there is an error, a history log will be created in the application’s history. This log will include a detailed error validation message, similar to the one below:
- When the predefined thresholds/parameters are edited in the Manager Portal, only new flags will adhere to the updated settings.
Flags cannot be deleted once applied, ensuring the integrity of the audit trail and historical record within the system.
Note: To enhance address handling in FraudIQ, we support unit numbers in address submissions. While FIQM does not yet directly support unit numbers, we implement their formatting guide to ensure these details are included correctly. This enables more precise address matching for fraud assessments.
History Log
All activity related to Fraud IQ is tracked in the application history.

Block List
Note: This feature is tenant specific and may not be enabled in every environment.
At application ingestion, FundMore will make an automatic call to the company’s Blocklist API for each applicant. The system will run a client screening using the applicant’s full name (i.e. First Name and Last Name), and their Date of Birth to identify if an applicant is on a blocklist. The Blocklist API will return a hit if the member was identified on the block list, in which case the application will automatically be declined.
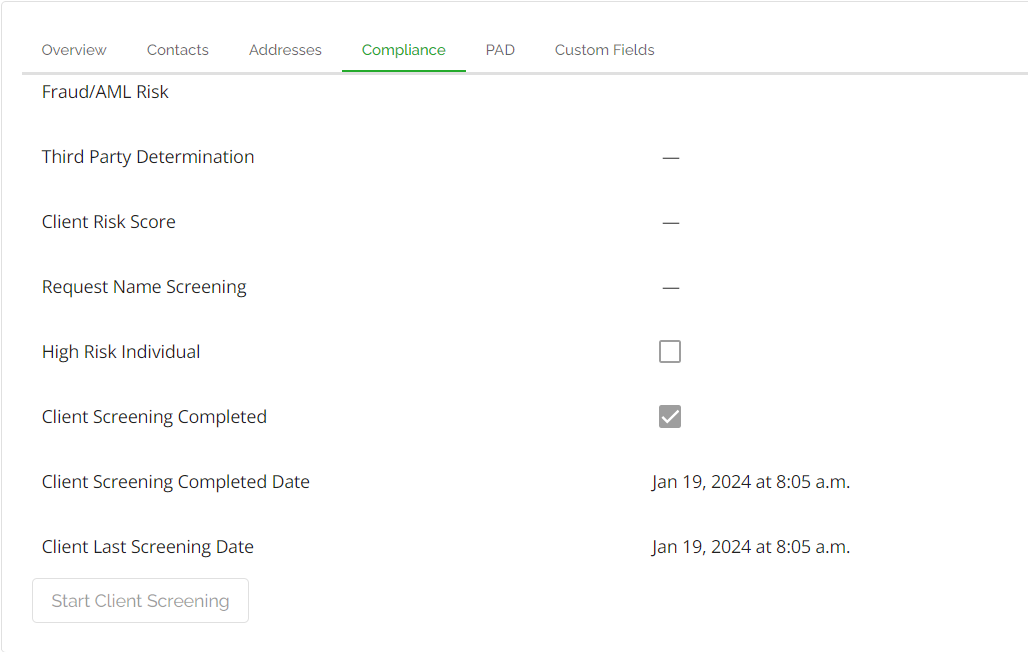
Client Screening Passed
If the applicant(s) pass client screening, the application will appear in the New Application stage with indication that the screening has been completed. The system will update the Compliance tab of the Stakeholder’s Details widget to indicate if the client screening was completed, when it was completed, and the last screening date/time. Additionally, the High Risk Individual box will not be checked to indicate a pass.

Client Screening Not Completed
If a file has not undergone client screening for any reason, the system will provide the user with an option to start client screening. The system will also automatically create a “Perform Blocklist Check'' task reminding the user to retry the screening check manually. When the check is completed successfully, the task will auto complete.
To start the screening, click on the “Start Client Screening” button at the bottom of the Compliance Tab within the Stakeholder’s Details widget.
Note: If client screening has been completed, this option will be grayed out.
Failed Screening
Some factors that could lead to a failed screening include the API being down, one of the required fields being blank (i.e. First Name, Last Name, or Date of Birth), or there are special characters included in the name.
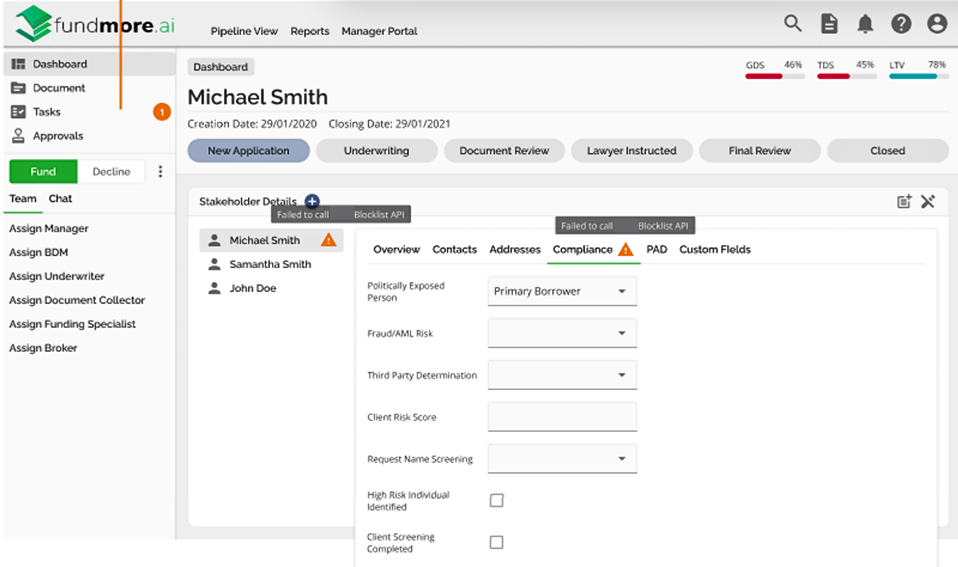
If the API is down or the screening fails, a warning icon will appear beside the applicant’s name in the Stakeholder’s Details widget as well as beside the header of the Compliance Tab.
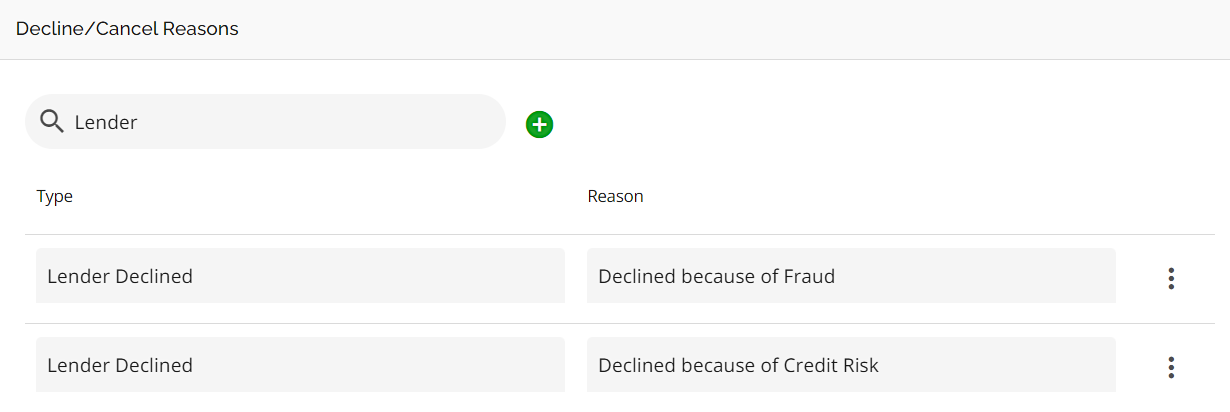
In the case of a failed screening, the system will automatically create a “Perform Blocklist Check'' task reminding the user to retry the screening check manually. When the check is completed successfully, the task will auto complete. Additionally, the application will automatically update the applicable fields in the Compliance tab in the Stakeholder’s Details widget including the High Risk Individual box, Decline/Lock reason, and moving the file to the decline stage. The decline message will be displayed and sent back through the POS system to the broker. For the Failed Screening, there are two different responses configured into the system: Credit Risk or Fraud Response. Both of these responses are configured in the Decline/Cancel Reasons section of the Manager Portal.
The decline message displayed will be similar to the one in the screenshot below:
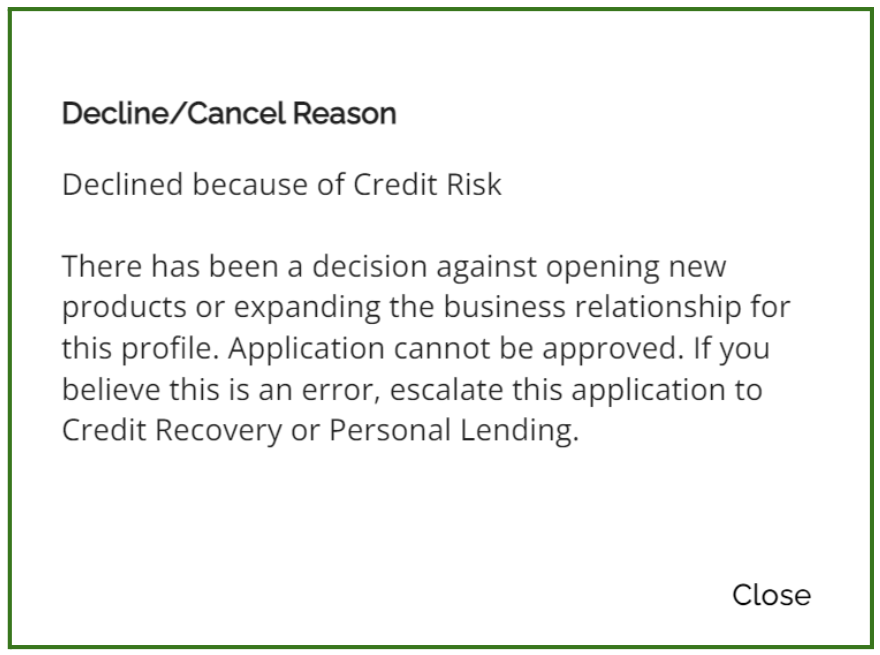
The decline blocklist messaging will be one of these three messages:
Fraud:
Thank you for your submission to FundMore.ai. There has been a decision against opening new products or expanding the business relationship for this profile. Application cannot be approved. If you believe this is an error, escalate this application to Fraud Management.
Credit Risk:
Thank you for your submission to FundMore.ai. There has been a decision against opening new products or expanding the business relationship for this profile. Application cannot be approved. If you believe this is an error, escalate this application to Credit Recovery or Personal Lending.
If there is no justification OR anything other than fraud or credit risk:
Thank you for your submission to FundMore.ai. There has been a decision against opening new products or expanding the business relationship for this profile. Application cannot be approved. If you believe this is an error, escalate this application to Fraud Management, Credit Recovery or Personal Lending.
Similarly, in the Pipeline View, the messaging will pop-up above the deal card if you hover on the decline icon:

A decline decision can be reversed, but only by authorized individuals. To do so, follow these steps:
- Navigate to the application dashboard.
- Unlock the application. There are two ways to do this:
- Click on the "Unlock Application" button on the right side of the orange banner above the dashboard.
- Click on the ellipsis beside the "Declined" button and select the "Unlock Application" option.
- A confirmation pop up will appear:
- Select a reason for unlocking the application and provide any relevant comments.
- After unlocking the application, move it from the Decline stage to the New Application stage. You can achieve this by either clicking on the relevant stage at the top of the dashboard or by navigating to the Pipeline and dragging the application tile to the corresponding stage.
Once the decline decision has been reversed, a task will automatically be created to “Perform a Blocklist Check”. Users can then make any necessary updates to the file, or rerun a Blocklist check by clicking on the “Start Client Screening” button at the bottom of the Compliance tab within the Stakeholder’s Details widget. The original blocklist results or client screening details will be cleared but will remain in the history log.
Note: If client screening has been completed, this option will be grayed out.
Presuming the screening yields a positive result, the task will auto-complete and the user can move forward with the deal. The user may want to re-decision to “Pending” letting the broker know they are performing a recheck.
History Log
All activity related to Blocklist checks are tracked in the application history.
Existing Member Check
Note: This feature is tenant specific and may not be enabled in every environment.
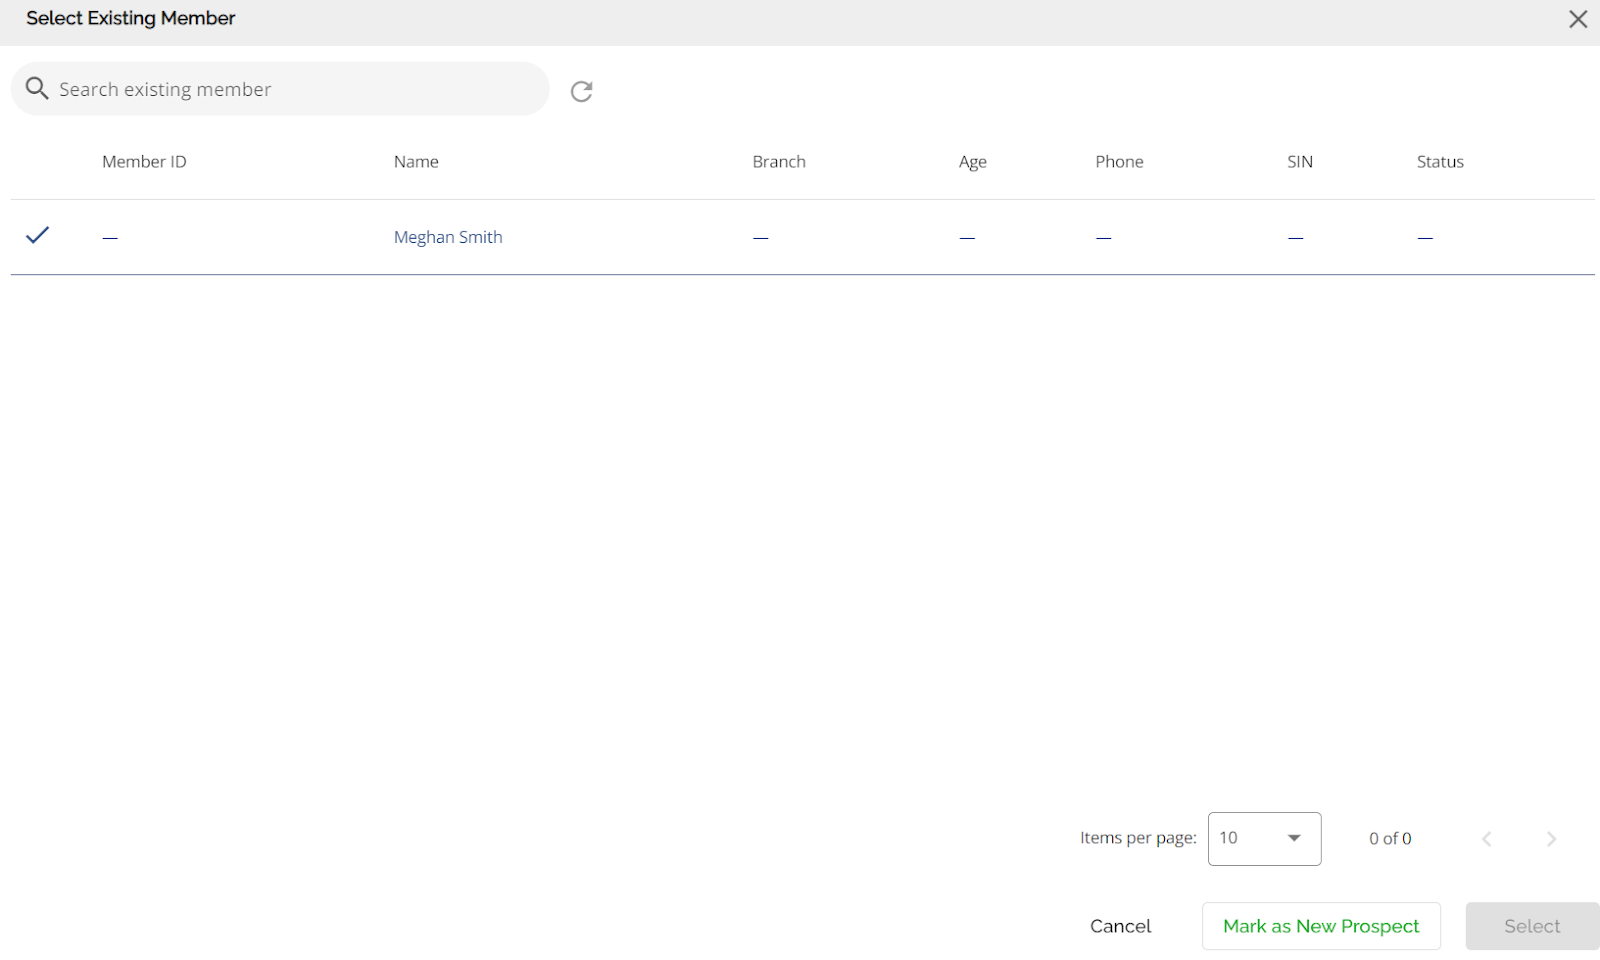
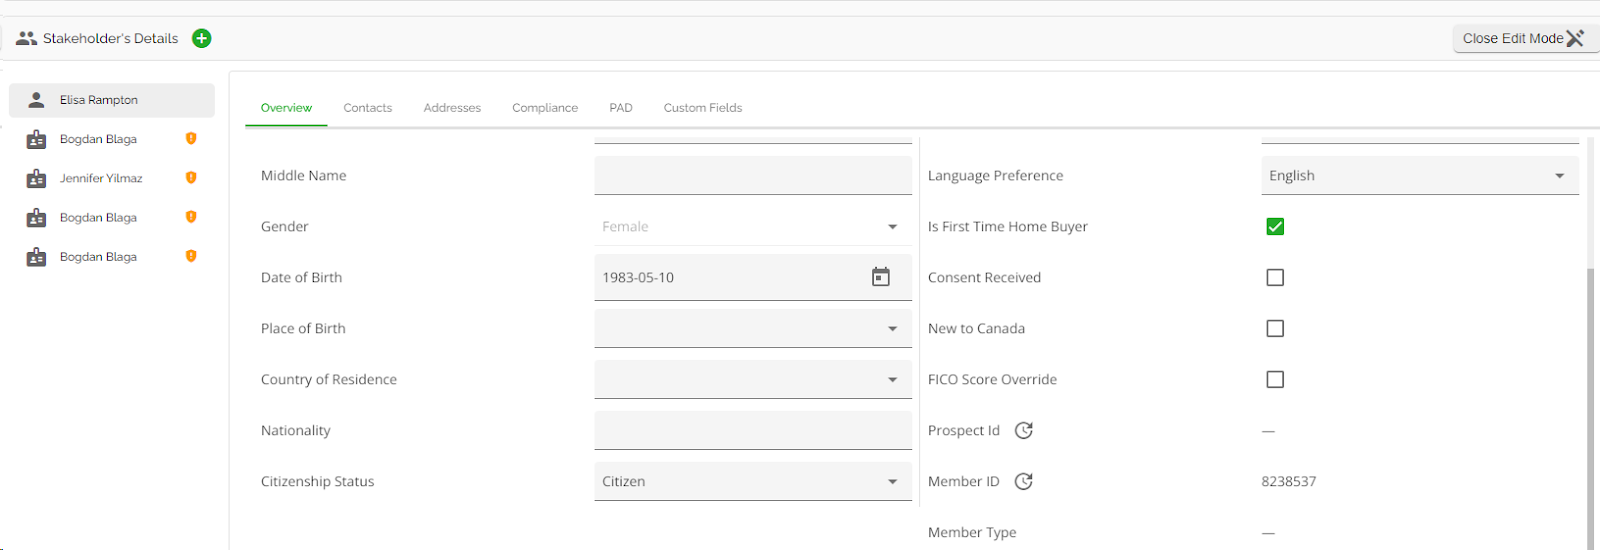
The system is enabled to conduct automatic checks upon ingestion. The system checks for existing members using their First Name, Last Name, Date of Birth, and Social Insurance Number (if applicable). This check can also be initiated manually by a user by simply clicking on the refresh icon next to the Member ID field within the Stakeholder’s Details widget. If there are any possible matches, a warning sign will appear beside the Stakeholder’s name in the Stakeholder’s Details widget, as well as beside the Member ID label. The user can click on the “Select Member” button to see the list of possible matches.

The system generates a list of potential matches, which may take a few moments to load.
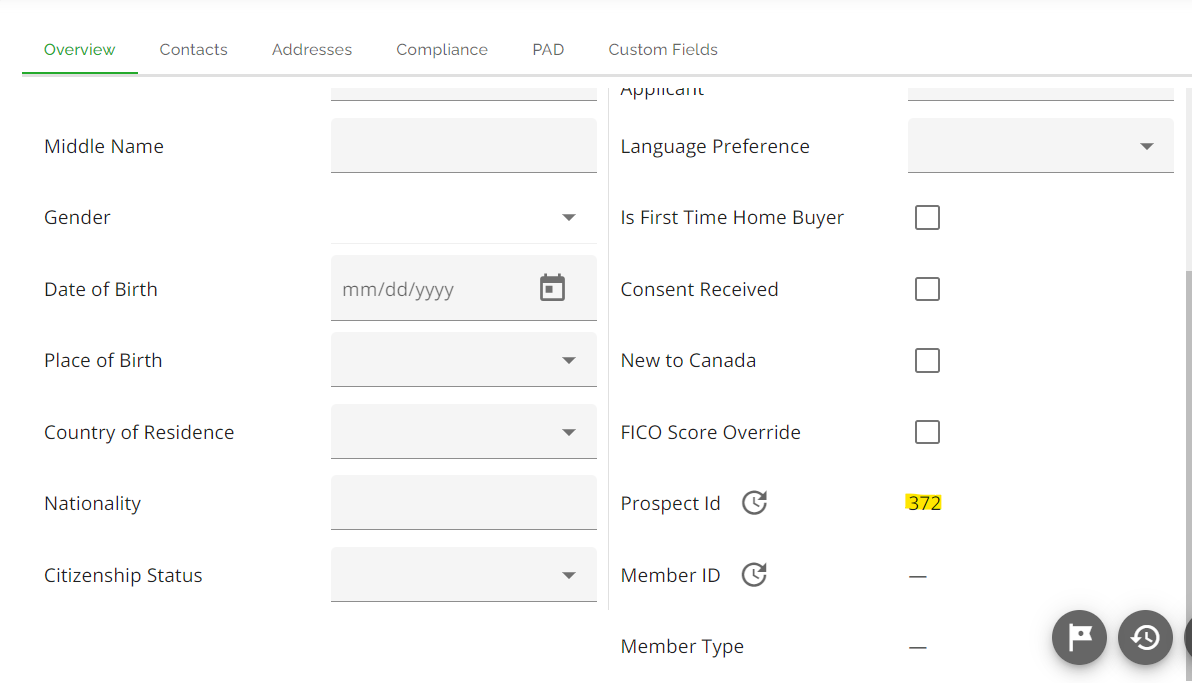
If no match is found, users can opt to designate the individual as a new prospect by selecting the "Mark As New Prospect" button. Subsequently, the system assigns a Prospect Member ID # to the Prospect Member ID field within the Stakeholder widget, and a corresponding history entry is logged.
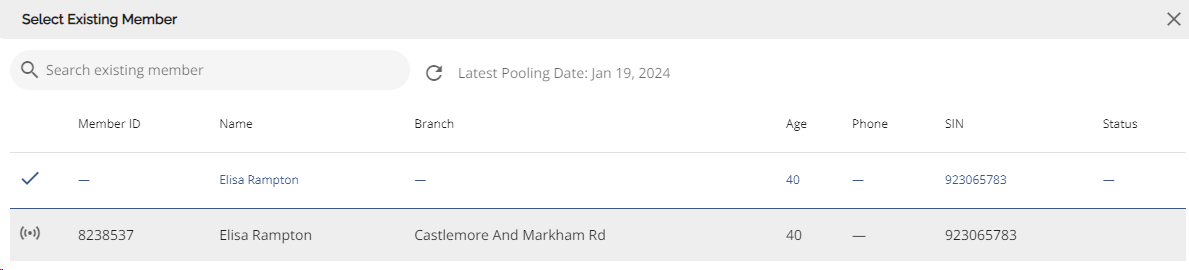
In the event of a match, a list of potential matches is presented to the user.
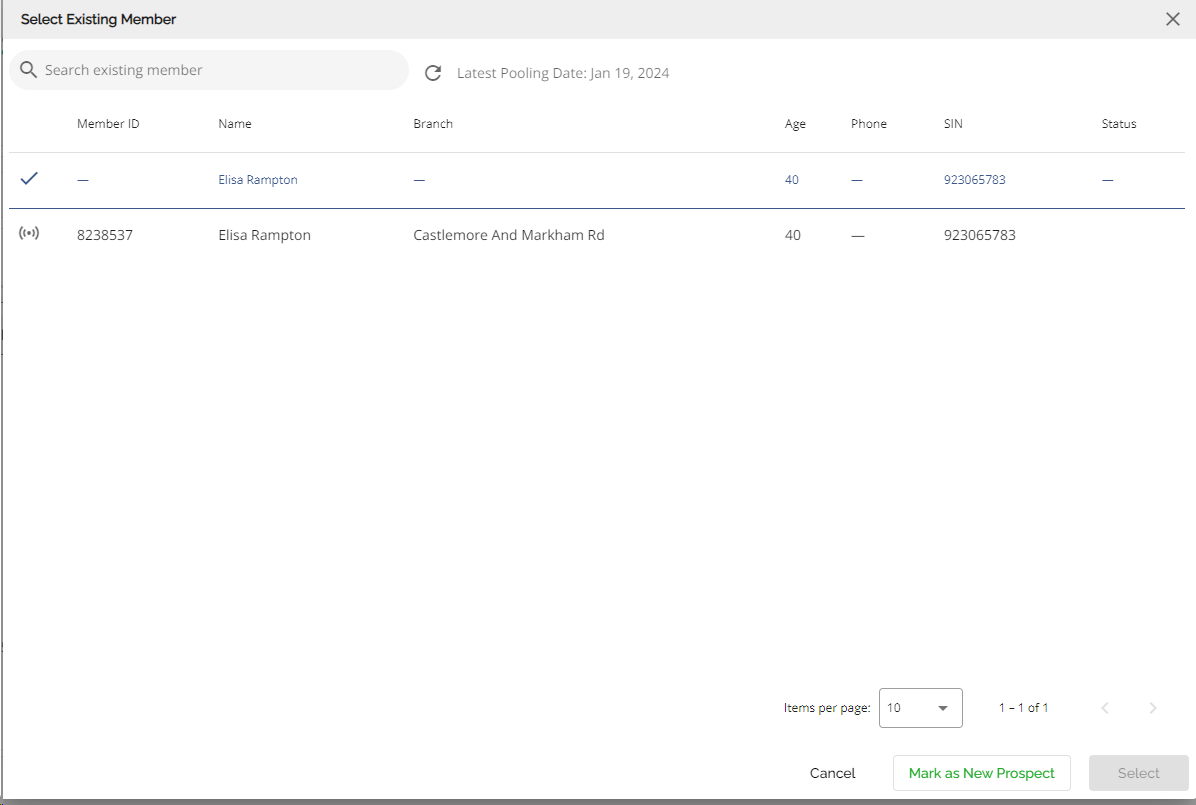
The user can select the most appropriate match from the list and click on the “Select” button. The system will update the Member ID field with the appropriate member ID number.
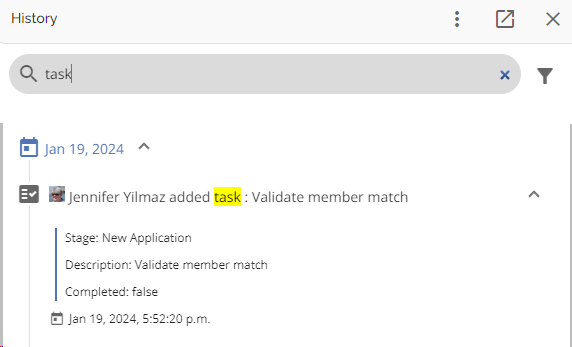
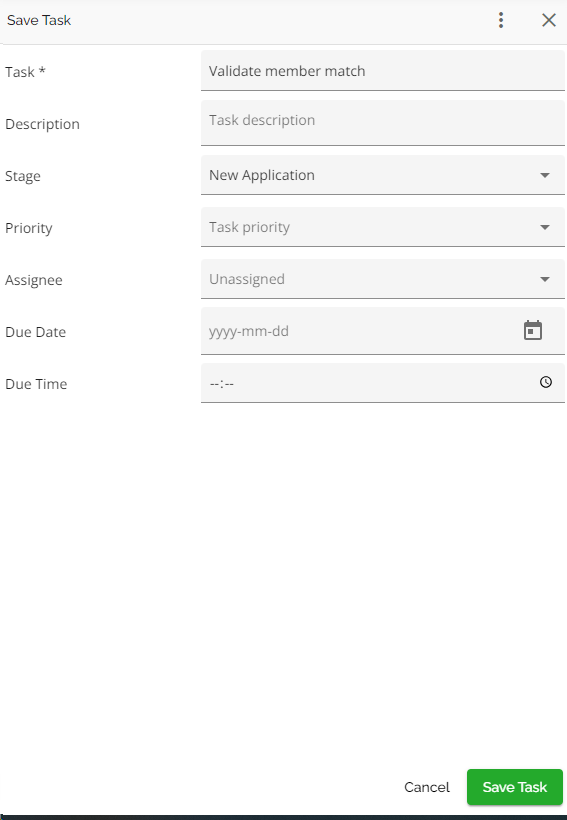
Once a member check is requested, the system will automatically populate with a task prompting users to validate the match.
Create Memberships
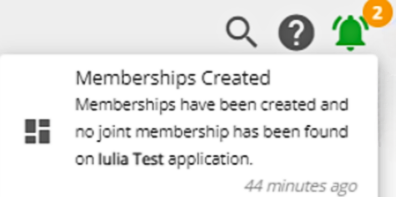
We have included a “Create Memberships” quick action button in the ‘More Actions’ Ellipsis section. This will enable users to create membership ID’s for applicants when none exists. If there are multiple applicants on the same deal, it will create unique memberships for all at once. To find the Create Memberships button, click on the ellipsis to the right of the Decline button. When a membership is created, a notification will be generated.
Click on this link to watch a video demonstration of this process.

In addition to this, we have created automation within the UI when a file is stage transitioned into the Operations Fulfillment stage, the system will automatically generate a call to create membership(s). Watch this video demonstration to understand this functionality: Create Member UI Automation.
Retrieve Joint memberships
When there are no new prospects, the Create Membership button will be disabled (greyed out) and the Retrieve Joint Memberships button will be enabled. The system will call for joint membership numbers and populate the Product Member Number field in the Summary tab of the Loan Details widget. The user can click on the field to confirm which applicants are tied to the number. At this time, only one joint membership number is being returned, even though there may be others. Watch this video for a demonstration: Retrieve Joint Memberships Functionality. If there is an issue in the call to retrieve a membership number, an error will be displayed at the top of the dashboard.

Connected Party Flag
We have included a Connected Party field within the Overview tab of the Stakeholder Details widget. This field indicates if the applicant(s) are connected parties. This is connected to the existing member check and will auto populate if the applicant is an existing member. Otherwise it can be manually populated.
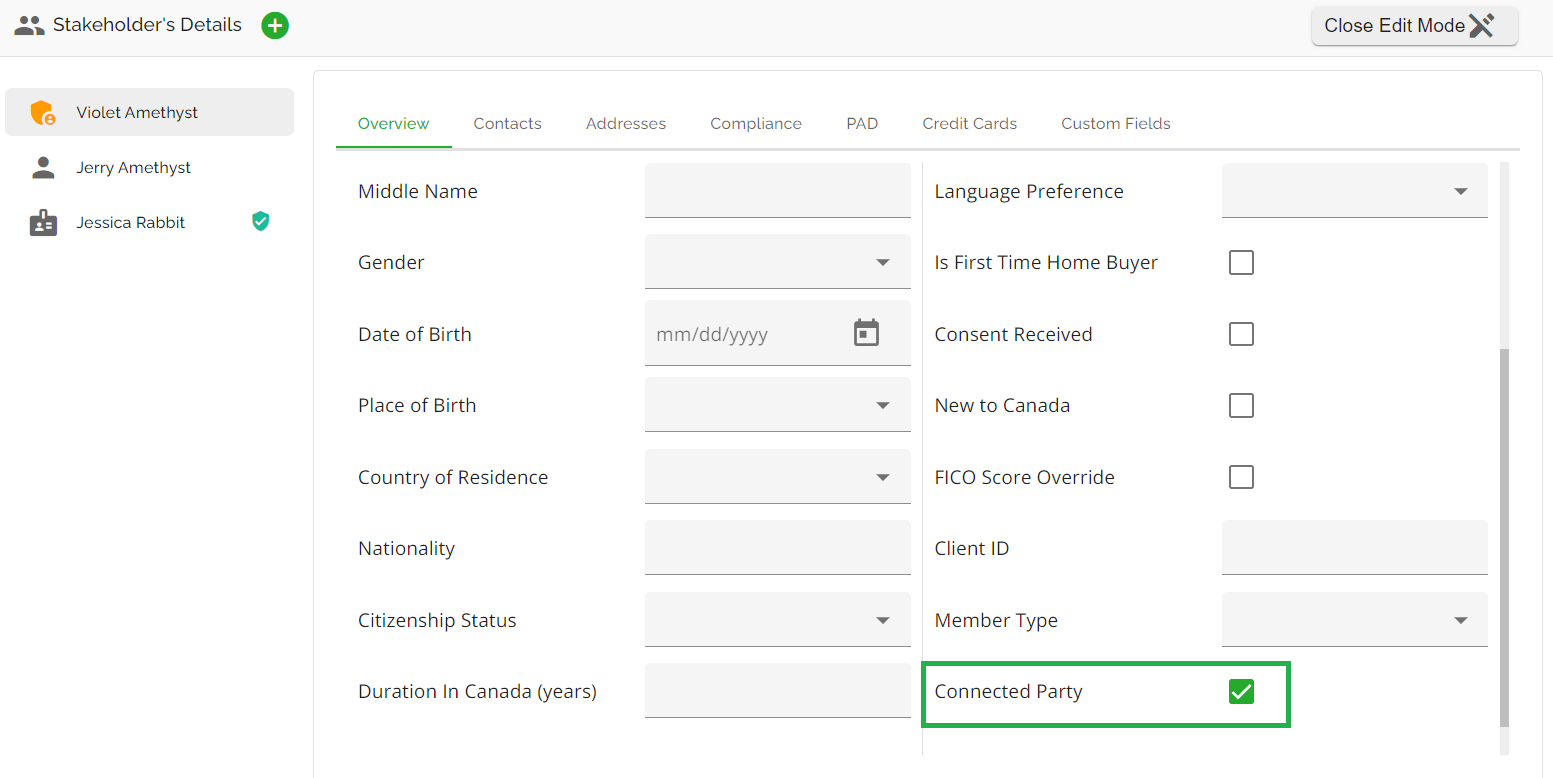
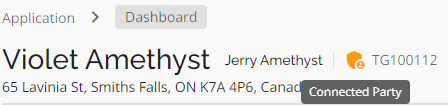
When an applicant is identified as a connected party, there will be a checkmark in the Connected Party field, and a connected party icon will appear at the top of the dashboard to the right of the Borrower’s name.
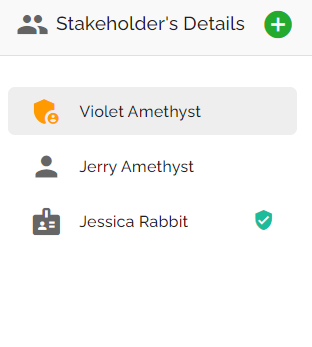
If there are multiple applicants on the file, you can see which applicant(s) are the connected party by going to the Stakeholder widget where the same icon will be to the left of the applicant’s name in the Stakeholder list.
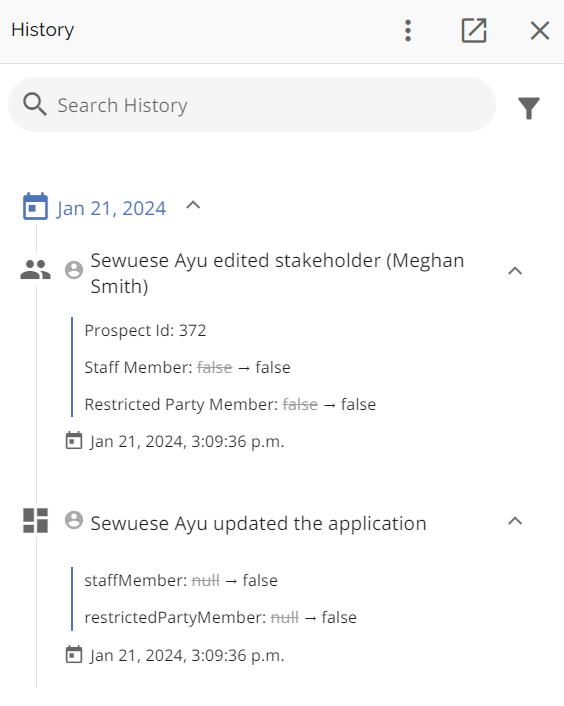
All actions related to existing member checks, including requests, validations, and the prospect list results, are tracked in the application history log.