Table of Contents
Fund Management Items, Their Description and Functionality
Introduction
The Fund Management section lets a lender add their funds and, when needed, assign a fund to a file. This information is shown in lender documents. If more than one fund is defined, the lender can set a default fund.
Location
To find and use the Fund Management feature, follow these steps:
- Select Manager Portal on the top menu.
- Select Fund Management from the list in the left sidebar.
Fund Management Items, Their Description and Functionality

Search box - In the search box, you can enter search text/keywords related to the funds previously created. A list will appear below, containing all funds with the search criteria in them.
Add New Fund Button - Used to Add a New Fund. To add a new fund to the list, you must complete both the ‘Long Name’ and ‘Short Name’ fields.
Sort the Fund Management List - Columns can be sorted by ascending or descending order by clicking on the arrow to the right of the heading title. When the arrow is facing upwards the list is sorted in ascending order. When it is facing downwards, the list is sorted in descending order.


Long Name - The full name of the fund. For example, Fundmore.ai.
Short Name - The abbreviation of the fund name. For example, FM.
Default Fund - This is a checkbox found in each fund line item in the list. It tells you which fund is the default. When the checkbox () is selected, it indicates the fund is the default fund. When the checkbox is empty, it indicates that the fund is not the default fund. Selecting a default fund means all applications will default to this fund automatically. This is useful if you use multiple fund sources but one in particular is your main source.
Note: There can only be one default fund selected.
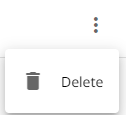
Ellipsis - Clicking on the ellipsis opens up the option to delete a fund if necessary.
Scroll Bars - Located at the bottom of the list of funds and to the far right of the screen. Use these to scroll your list horizontally or vertically to see what does not fit on the page.
Items Per Page - Depending on how large your list is, you may have more than one page of Funds. To navigate through pages use the Items Per Page navigation at the bottom right hand side of your screen. With this functionality you can indicate how many items per page you would like to see in groups of 10, 15, 25, 50, or 100. You can see how many pages there are and scroll forwards and backwards through the pages if need be.

Adding a New Fund
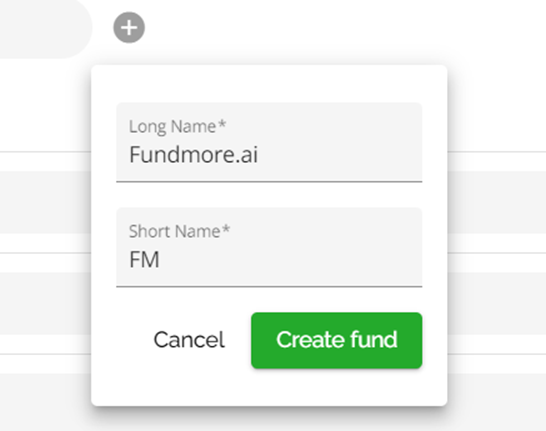
To add a new Fund:
- Select the Add New Fund Button (
).
- Enter the Fund’s Long Name and Short Name.
- Click the ‘Create Fund’ button.
Editing a Fund
To edit the details of a fund in the list, select the field you wish to edit. In the field you selected, the text will become underlined. Update the data in the field as necessary, and the system will automatically save your changes as you move out of the field.
Note: If the fund names were mapped in the BE for sending to servicing, the short name can NOT be edited. If the short name is changed in the Manager Portal, the mapping will stop working⚠️ You can edit the Long Name of the Investor in the Manager Portal but NOT the Short Name. You will need to contact FundMore.ai if you require changes in these cases.
Deleting a Fund

To delete a fund, find the fund you wish to delete in the list. On the far right click the inline ellipsis. When the drop down appears, select the delete option and the fund will be removed from the list.