Table Of Contents
Additional Information on Risk Flags
Introduction
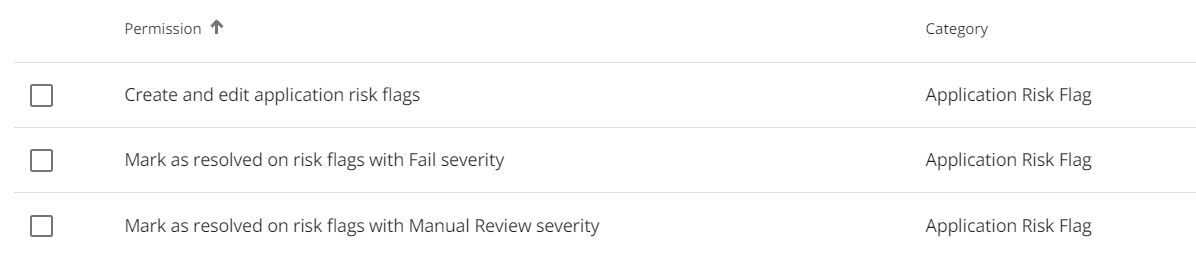
Risk Flags are indicators within the LOS that highlight potential risks associated with a mortgage application. These risks can include fraud alerts, and other factors that may impact the loan approval process. Risk flags are manually added within the application using predefined options set up in the Risk Flag Management section of the Manager Portal by Admin users with the relevant permissions. In addition to these predefined options, users can also create custom risk flags with options they define at the application level. At the application level, the ability to manage risk flags is permission-based and linked to three specific permissions, as seen below:
Once set up in the Manager Portal, the risk flags can be viewed and managed at the context of the deal via an icon in the bottom right hand corner of the application dashboard. When there are unresolved risk flags or comments, a notification badge will appear next to the risk flag icon. This prompts the user to review and action the file as required.
 |
 |
To view an application risk flag, click on the Risk Flag icon in the bottom right corner of the dashboard. The risk flag will appear in a list view, and will be ordered by the creation date in ascending order i.e. the oldest entry will appear at the top of the list.


Adding a Risk Flag
To add a risk flag to an application, follow these steps:
- Navigate to the application dashboard.
- Click on the ‘Risk Flags’ icon in the bottom right corner.


Type*: This is a mandatory field and it is restricted to 255 characters. It represents the specific category or nature of the risk flag being assigned to the application. It categorizes the risk based on its underlying cause or concern. For example, if the risk flag pertains to employment fraud, you can set up the type as “Employment Fraud''. You can select a type from the predefined types in the Manager Portal, or start typing for creating custom flags. If you select from the predefined risk flags, the remaining fields will fill in automatically based on what is set up in the Manager Portal. Users can edit the severity and description if they want to and this will update the flag at the application level without changing the predefined severity from the Manager Portal.
Type (Fr): This is the French translation of Type.
Severity*: This is a mandatory field. It represents the level of concern associated with the identified risk. It offers two options: Fail and Manual Review.

The “Fail” severity level indicates a critical risk that requires immediate attention and may result in the rejection of the mortgage application if not addressed. Risks categorized as "Fail" typically involve significant discrepancies or issues that pose a substantial threat to the integrity of the application. The “Manual Review” severity level signifies a moderate level of concern that warrants further investigation or verification. While not as severe as a "Fail," these risks require additional scrutiny and evaluation by underwriters to determine their impact on the application's approval status. They may involve discrepancies or inconsistencies that need clarification but do not necessarily result in an outright rejection of the application.
Description: This is an optional field. A detailed description of the risk flag.
Description (Fr): Also optional but the French translation of the Description if applicable.
6. Once completed, click on the “Add Risk Flag” button. The risk flag will be added at the application level.
Risk Flag Recommendations
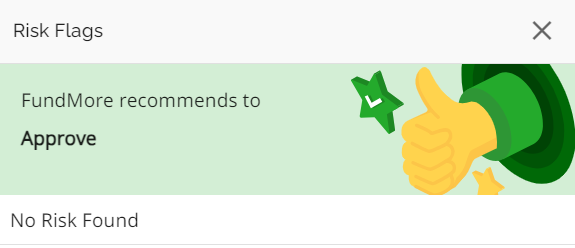
There are 3 risk flag recommendations supported by the system. These are Approve, Manual Review, or Decline. These recommendations appear at the top of the Risk Flag pop up window, and are used to provide quick, actionable insights into the potential risks associated with an application. These recommendations help to make informed decisions on whether to proceed with a deal as usual, conduct a manual review for further investigation, or decline it outright to mitigate potential risks and protect against fraud or other adverse outcomes.
If there are no risk flags, the “Approve” recommendation will be displayed.
If there are unresolved risk flags with a severity level of Manual Review, the “Manual Review” recommendation will be displayed.

If there are risk flags with a severity level of Fail, the “Decline” recommendation will be displayed.
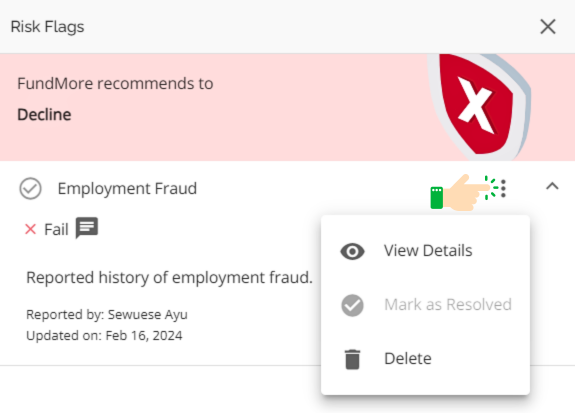
Clicking on the ellipsis in the top right corner of the risk flag reveals three options. 'View Details' provides a comprehensive overview of the relevant information associated with the risk flag. 'Mark as resolved' enables users to indicate that they have reviewed the flagged item and wish to resolve it. The 'Delete' option allows users to remove the risk flag entirely. The arrow located to the right of the ellipsis serves to expand or collapse each individual risk flag entry, providing users with a streamlined viewing experience
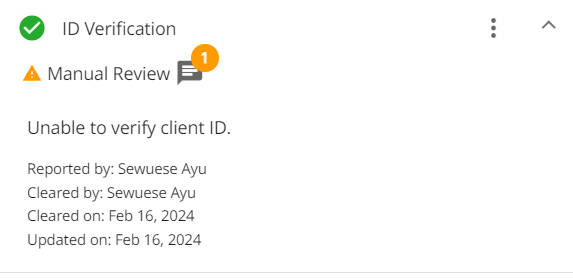
Upon clicking on the “View Details” option, users are directed to a page with an overview of the risk flag. Within this section, users are able to add and read comments on risk flags as seen in the image below:
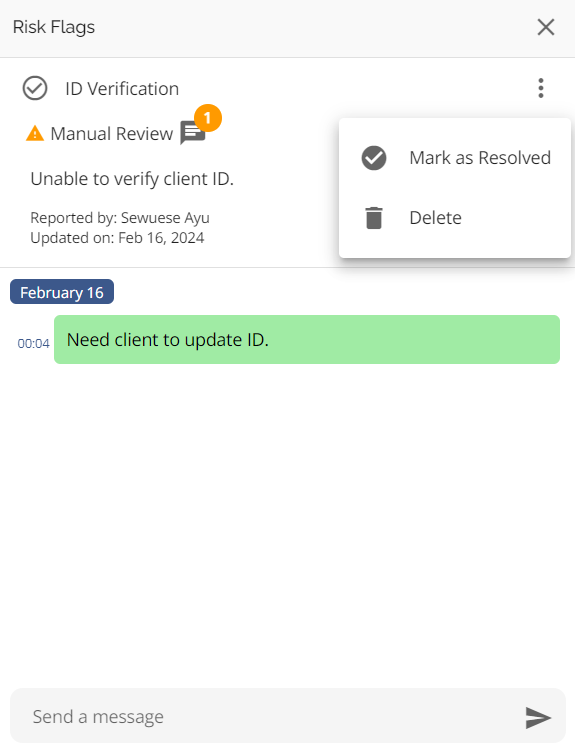
Unseen comments will prompt users with an orange number icon on the risk flag button and on the comment icon within the risk flag details. This is similar to the notification badge that appears when there is an unseen or unresolved risk flag.
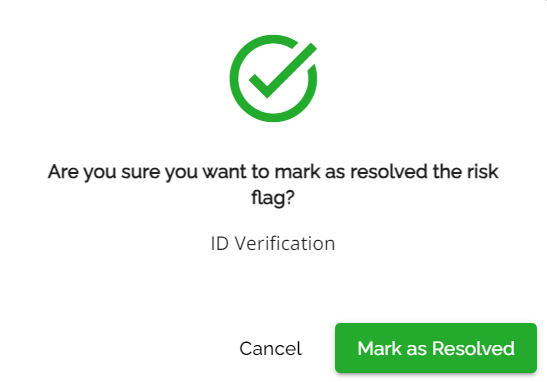
If you have the appropriate permissions, you are able to resolve risk flags and will get a confirmation pop up message when you do. Click on the “Mark as Resolved” button to resolve the risk flag. If you wish to cancel the action, click on the “Cancel” button.
Note: The option to “Mark as Resolved” will only appear as a selection if you have the appropriate permissions.
If you do not have the appropriate authority and feel there is a case to be made for moving forward despite the risk flag, you can escalate this for approval to someone with the appropriate permissions. Refer to the Decisioning an Application PFG for more information on how to request an approval.
By resolving all risk flags, the system recommendation will update to approve so long as there are no risk flags with a “Fail” severity level. Once a risk flag is resolved, the system will update its information card to include a “Cleared by” and “Cleared on” fields - these are useful for audit purposes. A refresh of the window may be required for these fields to appear.
Additional Information on Risk Flags
Notifications
Risk flags will trigger in-app notifications for any team member that is assigned to an application. These will appear in the notifications list which can be accessed by the notification bell in the top right hand corner of the navigation bar.

History Log
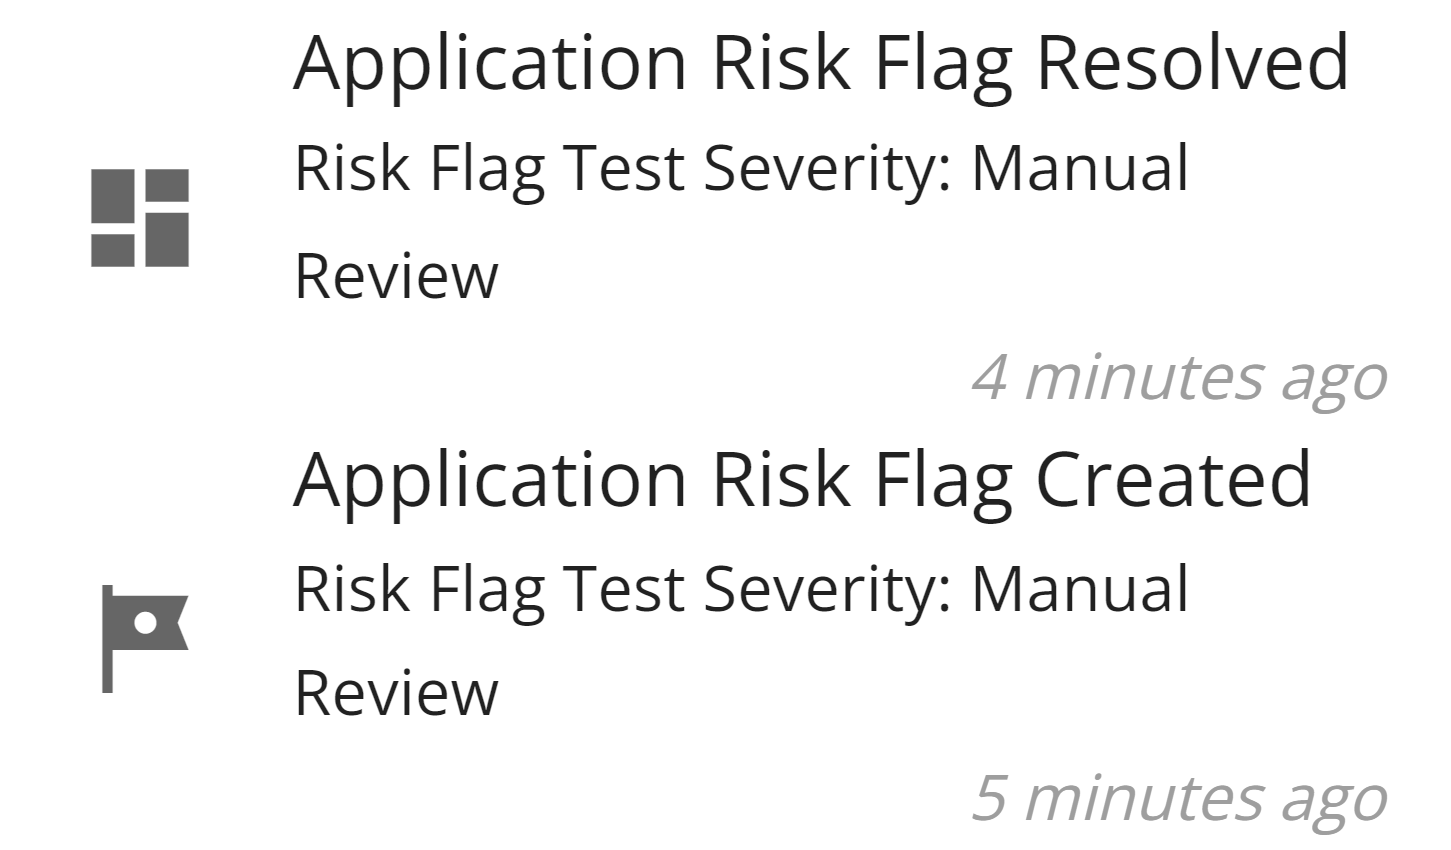
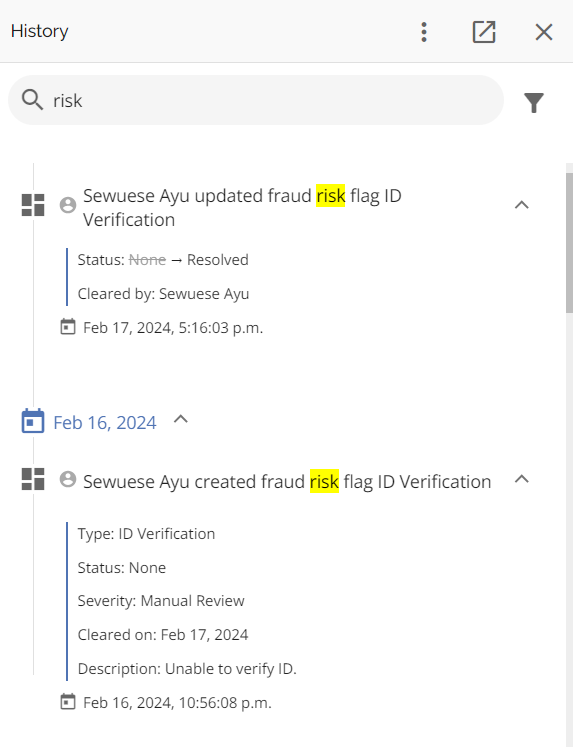
All activity related to risk flags are tracked in the application history. This includes creation, deletion, and resolution of risk flags, as well as any comments or messages left on them. The history log includes a “Reported by” field which indicates the user who created the risk flag. Similarly, when a risk flag is marked as resolved, the system creates an entry in the history logs called “Cleared by” which displays the name of the user that resolved the risk flag.
Automations
We have automation within the system to block conditional approvals if there are unresolved risk flags. This feature can be enabled or disabled by the lender in the Settings section of the Manager Portal, which allows for flexibility based on the needs of the company.

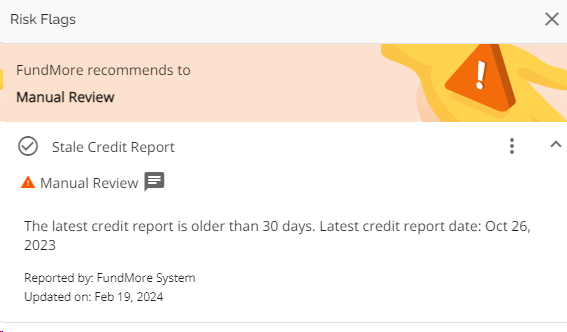
Show when Credit Report is > 30 days
Note: This is a tenant specific setting that defaults to disabled. If a tenant wishes to enable it, they need to submit a request to FundMore.
We have automated the system to perform daily checks that detect applications with credit reports older than 30 days. These checks occur everyday at 1AM, and the system looks at the latest credit report on the application. Upon completion of the check, the system generates a risk flag to highlight these applications, as per the company’s configurations.
For example, a risk flag type called “Stale Credit Report” could be generated. It may have a Manual Review severity level attached to it and the description may read “The latest credit report is older than 30 days. Latest credit report date: XXXX.”
On subsequent days, the system will update the number of days until a new credit report is requested, or the system detects a report newer than 30 days at which point the risk flag will be deleted.