Table of Contents
Document Types Items, Their Description & Functionality
Templates and Their Association with Document Types
Templates Items, Their Description & Functionality
IQ User Management Items, Their Description & Functionality
Introduction
FundMore.IQ is our document request feature which can be integrated directly into our LOS system for seamless and efficient document collection. This ties directly into our Conditions & Documents functionality within the LOS. With this feature, users can now manage document collection and conditions together in the same widget. Users can request documents directly from stakeholders, often brokers, who can then upload documents directly into the system and manage them efficiently, enhancing a collaborative document collection process.
Note: This is a tenant specific feature and is not enabled by default. To have it enabled, you would need to submit a request. Please contact our Sales Department if you wish to have this product deployed.
FundMore.IQ Configuration
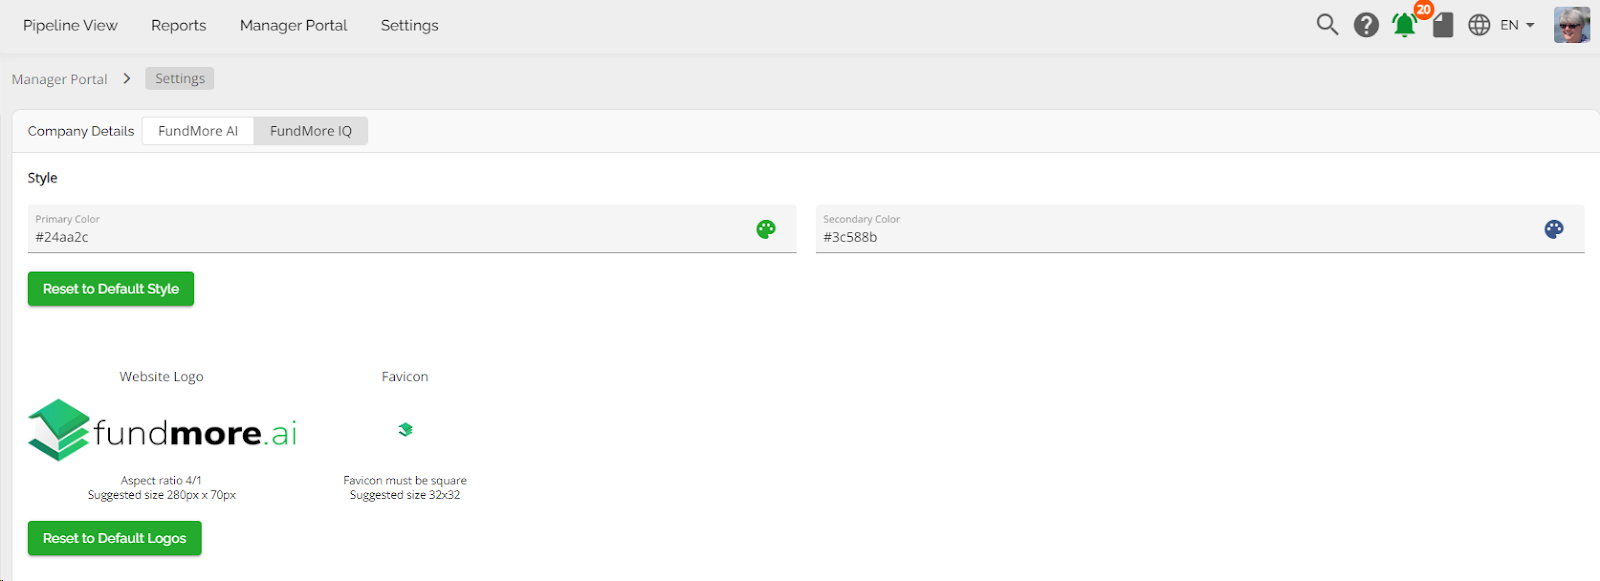
The white labeling for FundMore.IQ can be configured in the Settings section of the Manager Portal. Lenders can set up the branding for IQ the same way they do their branding for FundMore.ai. For more information, refer to the Company Settings PFG.
To utilize the FundMore.IQ feature, it is important to understand how it is configured in the Manager Portal. The configuration for this feature is done in the Documents to Request section. This is where lenders can configure their Document Types and create document request templates. To locate the document request section, follow these steps:
- Navigate to the Manager Portal.
- Click on the Documents to Request option within the left-hand navigation.
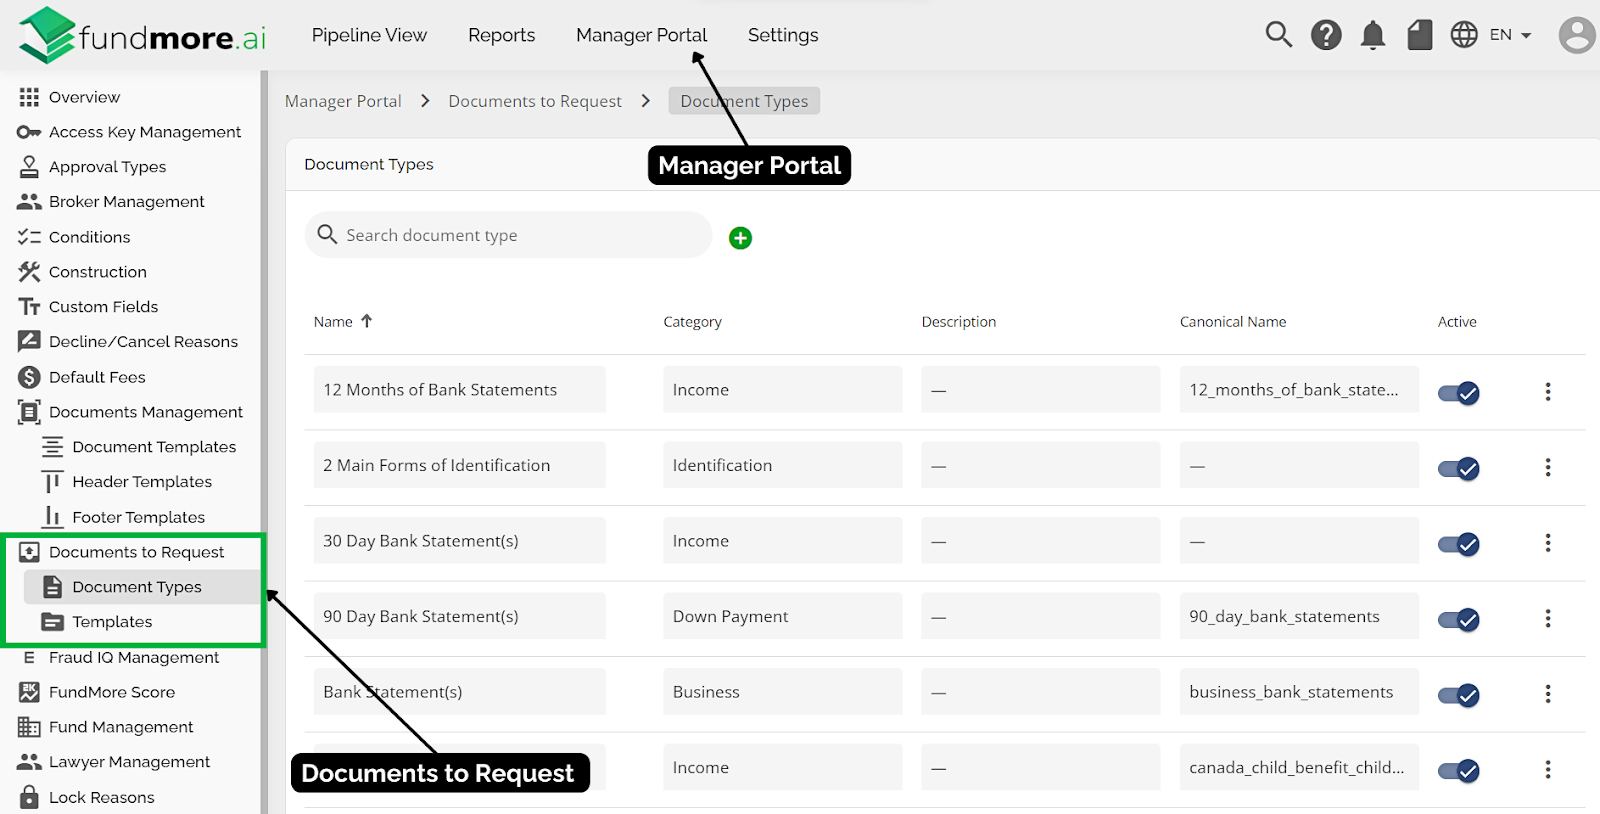
The Documents to Request section has two subsections - Document Types and Templates.
Document Types
Document Types refer to the categories or classifications of documents within the document request system. These categories help organize and classify various types of documents based on their content, purpose, or relevance to a specific application. Document Types provide a structured framework for managing documents, allowing users to easily identify, categorize, and retrieve documents based on their designated type. For example, common Document Types might include identification documents, financial documents, legal documents, or any other classification deemed necessary for efficient document collection. It is important to note that document types also tie into Condition Management. It is the Document Type that connects all the pieces together and enables the system to connect documents to their appropriate conditions when they are uploaded.

Document Types Items, Their Description & Functionality
Search Box - Located at the top left corner of the section. In the search box you are able to enter text/keywords related to the previously created document types. All document types within the search criteria in them will appear in a list view.
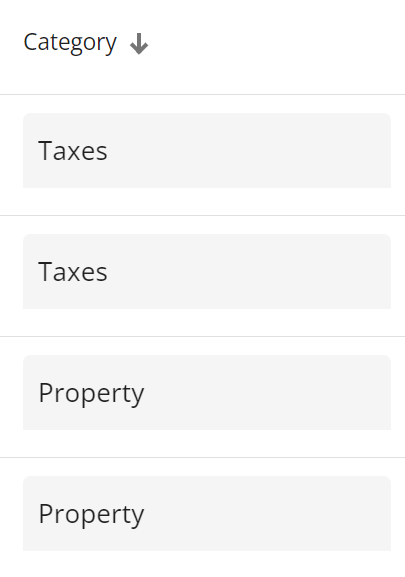
Sort the Document Types List - You can sort the document types list in ascending or descending order. Simply click on the arrow icon next to the column header you wish to sort by. When the arrow points upwards, the list is sorted in ascending order; when it points downwards, it is sorted in descending order. The arrow in the sorted column will remain fixed, indicating your chosen criteria.
|
Ascending: |
Descending: |
|
|
|

‘Add Document Type’ Button - Enables you to create a new document type. Clicking on this will open a sidebar on the right of your screen where you can enter information relating to the document type in the appropriate fields. The fields consist of: Name*, Category*, Description, Canonical Name, and Active.
Column List Headers
The headers below marked with an asterisk (*) represent the mandatory fields.
Name* - This field represents the name of the document type. It is a mandatory field and serves as the primary identifier for the document type within the system. Users should enter a descriptive and recognizable name that accurately reflects the content or purpose of the document type.
Category* - The category field denotes the classification or group to which the document type belongs. It is a mandatory field and helps organize document types into broader classifications or themes. Users should select the appropriate category that best aligns with the nature or purpose of the document type.
Note: Document Name and Category are required because these are the fields that the system uses to match documents to conditions. To match uploaded documents to conditions, the system checks the document name and category against the Linked Documents selected by lenders when creating conditions.
It might be beneficial to consider being very specific with your document names if you have several conditions that may be satisfied by similar document types. I.E. Conditions satisfied with Bank Statements. If you create a general document type called Bank Statements with a Category of Income, when you have multiple conditions with the same linked document the system will match all bank statements received to all matching conditions. The issue here though may be that the sources of income are from different bank accounts. So, you might want to consider creating a document type specific for each type of income such as Child Tax Benefit Bank Statements, Pension Income Bank Statements etc.
Description - This field allows users to provide a detailed description of the document type. While not mandatory, adding a description can enhance clarity and provide additional context for the document type. Users can include relevant information such as the intended use, specific requirements, or any other details pertinent to understanding the document type.
Canonical Name - The canonical name field refers to the standardized or official name of the document type. It is optional and typically used for internal reference or system integration purposes (Finmo & Velocity). Users may choose to assign a canonical name to ensure consistency across different systems or platforms.
‘Active’ Toggle - The active field is The active toggle is used to activate or deactivate the document type within the system. It is a toggle switch that allows users to enable or disable the document type as needed. Active document types are visible and accessible for use, while inactive document types are hidden or inaccessible until reactivated.
Open Details in Sidebar - Hover your cursor between the Name and Category fields to reveal the “Open details in sidebar” icon. Click on the icon to open the details sidebar. Within this sidebar, you can view the document type details and perform edits. Once completed, close the sidebar and your edits will be saved automatically.
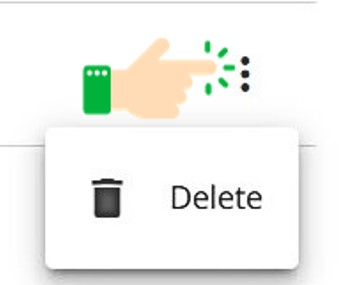
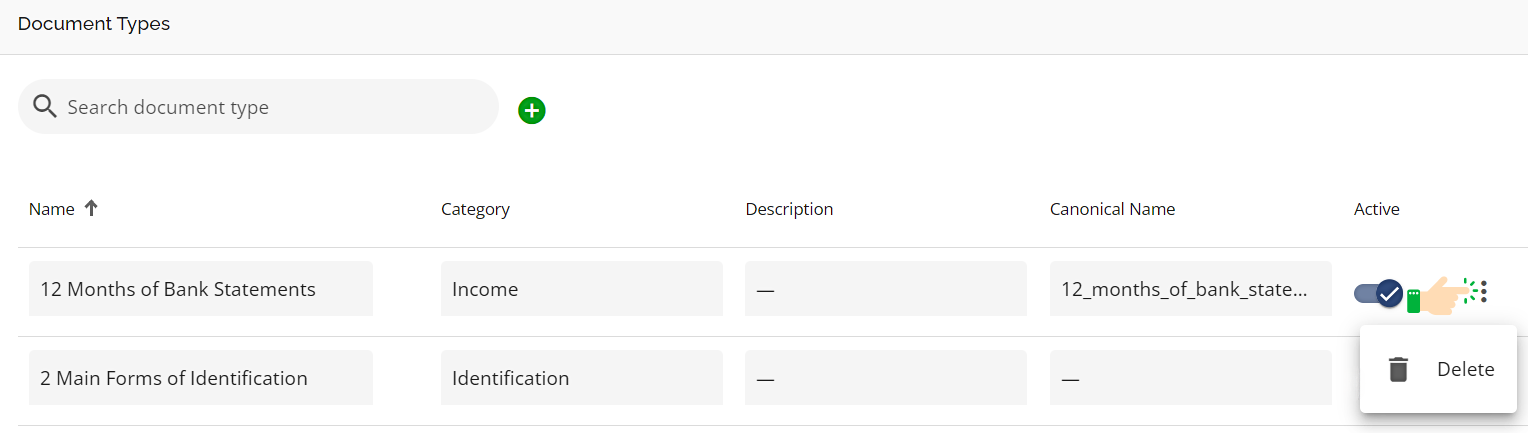
Ellipsis - Clicking on the ellipsis opens up the option to delete a document type if necessary.
Scroll Bars - The presence of the scroll bars depend on the size of your screen and the number of document types in the list. Located at the bottom of the list and to the far right of the screen. Use these to scroll vertically or horizontally to see what does not fit on the page.
Items Per Page - Depending on how large your list is, you may have more than one page of document types. To navigate through the pages, use the Items per page navigation at the bottom right hand side of your screen. With this functionality, you can indicate how many items per page you would like to see in groups of 10, 15, 25, 50, or 100. You can see how many pages there are and scroll forwards and backwards through the pages if need be.

Adding a Document Type
To add a new document type, follow these steps:
- Click on the "Add New Document Type" button.
- A popup sidebar will open to the right of the screen, providing input fields for the new document type.
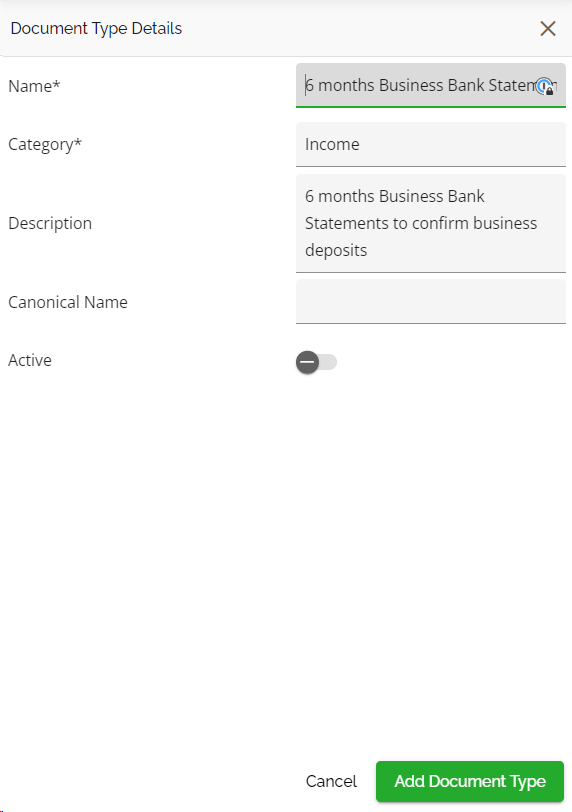
- Fill out the appropriate details for the document type:
- Name (Mandatory) - Enter the name of the document type e.g., “6 months Business Bank Statement - Business Income.”
- Category* - Choose the category for the document type. e.g., “Income.”
- Description - Provide a detailed description of the risk flag. While optional, completing this field is recommended as it offers additional context to other users. e.g., “6 months Business Bank Statements to confirm business deposits”.
- Canonical Name - Enter the canonical name of the document type e.g., “6_months_business_bank_statements.”
- Active - Toggle the active switch to activate it within the system.
- Click on the "Add Document Type" button. Your document type will be added to the list.
If you wish to cancel the process of creating a document type, click on the cancel button.
To understand how document types are used within templates, refer to the Templates and Their Association with Document Types section.
Editing a Document Type
To edit the details of a document type, follow these steps:
- Find the document type you wish to edit.
- Navigate to the field you wish to edit and click on it.
- Update the data as necessary in the field.
The system will automatically save any updates made.
Alternatively, you can make edits in the document types sidebar. To do so, follow these steps:
- Hover your cursor between the Name and Category fields to reveal the “Open details in sidebar” icon.
- Click on the icon to open the details sidebar.
- Within this sidebar, you can view the document type details and perform edits.
- Once completed, close the sidebar and your edits will be saved automatically.
Deleting a Document Type
To delete a document type, follow these steps:
- Find the document type you wish to delete.
- Click on the ellipsis to the far right and select the “Delete” option.
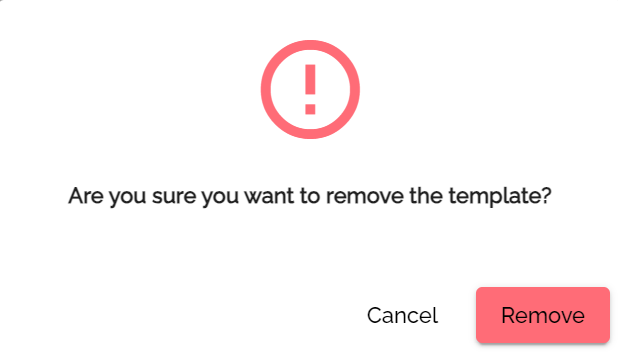
- Click on the “Remove” button in the pop-up that appears.
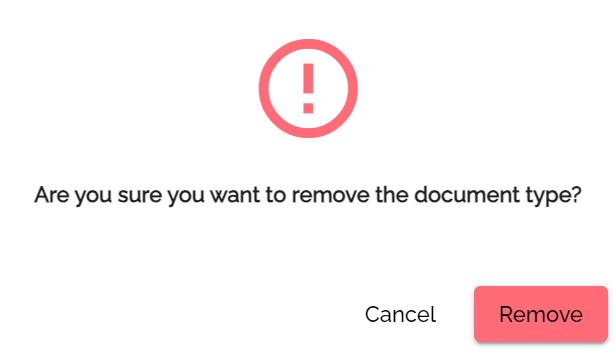
The document type will be removed from the list.
Templates
Templates are predefined formats or layouts used for creating standardized document requests. These templates outline a group of specific documents required for a particular purpose, such as a common application type. A typical use case would be purchase transactions for salaried applicants. The common basic set of documents requested in these scenarios are Purchase and Sale Agreement, MLS, Proof of Down Payment, Letter of Employment and Pay Stubs. Templates streamline the document request process by providing a consistent framework for requesting documents from stakeholders or applicants. Templates can be customized to suit the requirements of different applications or processes, offering flexibility and efficiency in managing document requests.
Templates and Their Association with Document Types
Templates make the document request process more efficient. They are particularly beneficial for recurring or common applications, as they provide a structured framework for document collection.
When creating templates, users can select from a list of available document types. By associating document types within the template, users ensure that the requested documents align with the appropriate categories or classifications. This ensures consistency and accuracy in document requests.
For example, with applications where the same documents are repeatedly requested, such as purchase transactions for salaried applicants, users can quickly create standardized sets of documents by selecting relevant document types like identification documents, financial statements, or legal documents or by applicant type such as Self Employed, or even application types such as rental purchase etc. This approach simplifies document requests by eliminating the need to manually specify each document for every request.
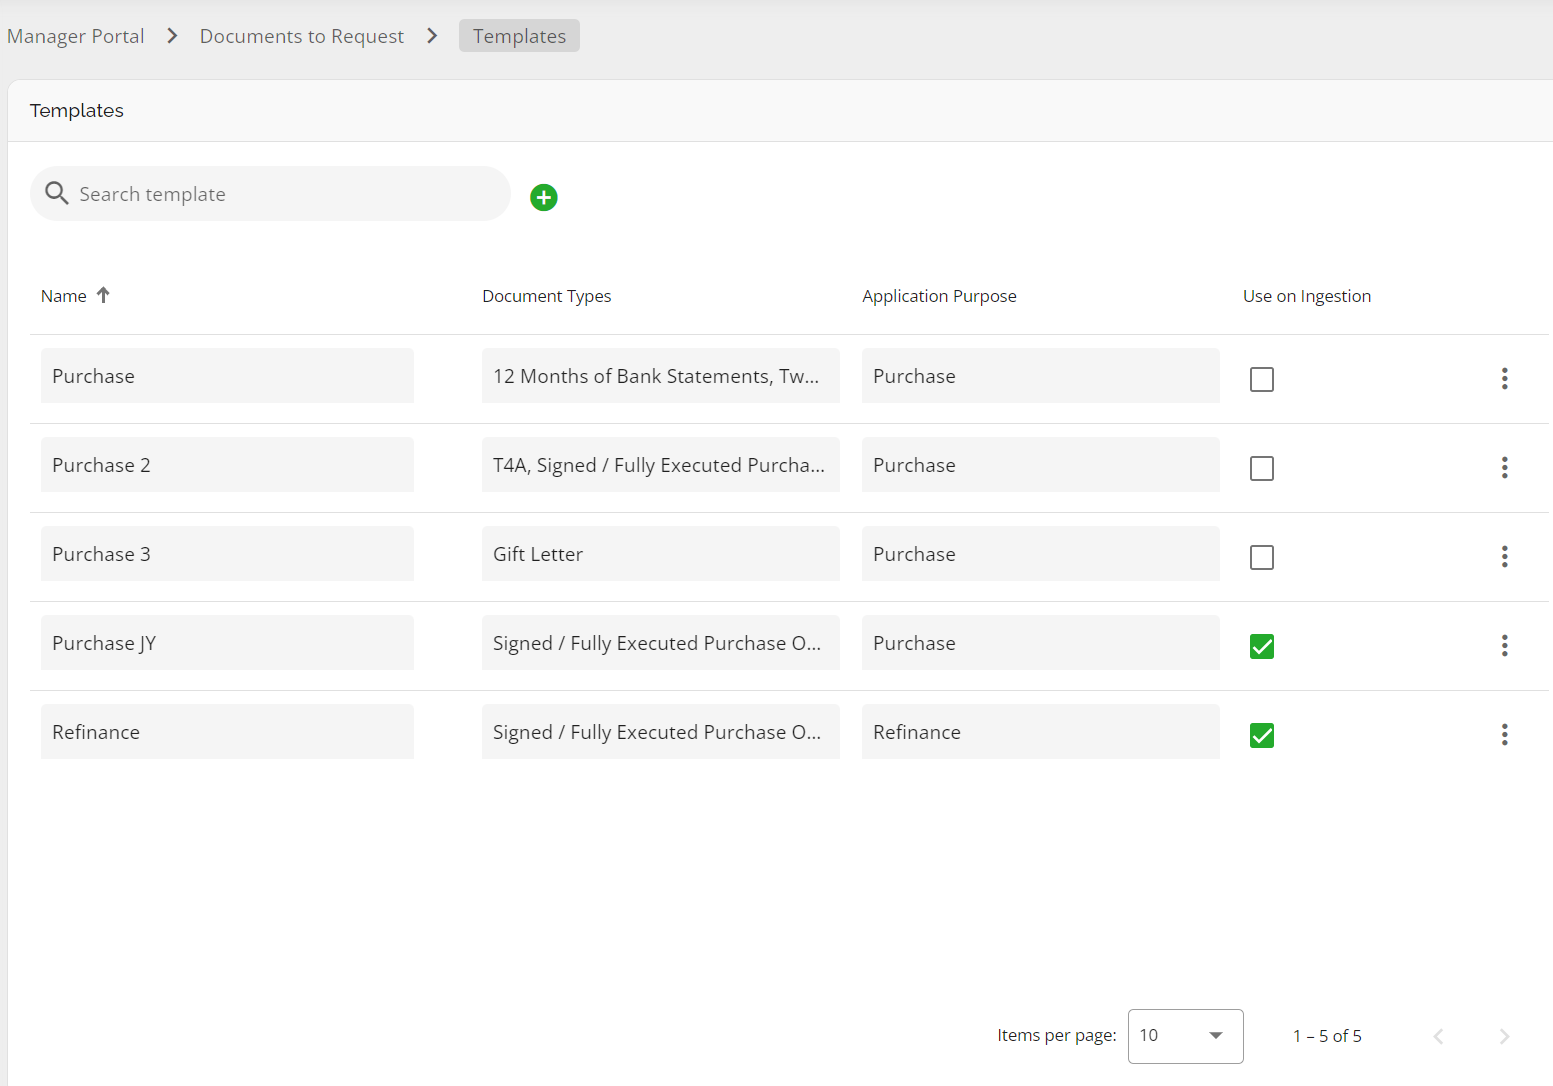
Templates Items, Their Description & Functionality
Search Box - Located at the top left corner of the section. In the search box you are able to enter text/keywords related to the previously created templates. All templates within the search criteria in them will appear in a list view.
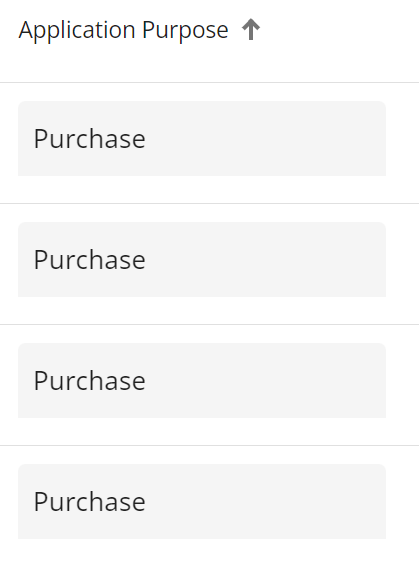
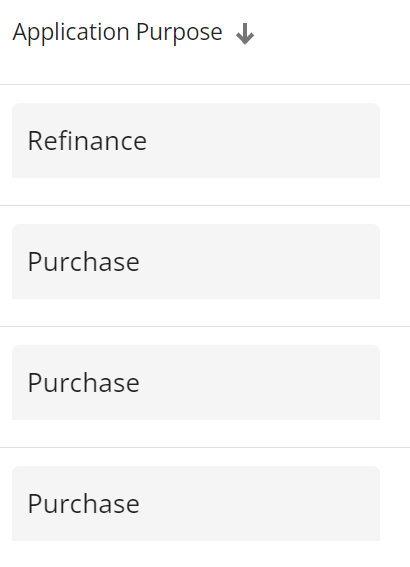
Sort the Templates List - You can sort the templates list by ascending or descending order. Simply click on the arrow icon next to the column header you wish to sort by. When the arrow points upwards, the list is sorted in ascending order; when it points downwards, it is sorted in descending order. The arrow in the sorted column will remain fixed, indicating your chosen criteria.
|
Ascending: |
Descending: |
|
|
|
‘Add Template’ Button - Enables you to create a new template. Clicking on this will open a sidebar on the right of your screen where you can enter information relating to the template in the appropriate fields. The fields consist of: Name*, Document Types*, Application Purpose, and Use on Ingestion.
Column List Headers
The headers below marked with an asterisk (*) represent the mandatory fields.
Name* - This is a mandatory field that requires users to enter a descriptive name for the template. The name should clearly indicate the purpose or type of document request template being created.
Document Types* - This is a mandatory field that requires users to select the relevant document types associated with the template. This is a multi-select field, as a single template can be linked to multiple document types.
Application Purpose - Users can select the purpose for which the template will be used. This links to the Application Purpose field in the LOS.
Use on Ingestion - This checkbox allows users to indicate whether the template should be applied automatically upon application ingestion. When selected, the template will be sent out automatically after any applicable system compliance checks are completed, preventing unnecessary document requests. In addition, selecting this checkbox generates automatic document requests for applications with the Application Type of “Approval” upon ingestion. This is not the case for pre-approvals or deals with an application type of Rate Hold, as document requests are typically not required on such applications. If left unchecked, the template will be available for users to manually send whenever they are ready to request documents. Users have the flexibility to request documents individually or by selecting the template at any time while the application is being processed.
Open Details in Sidebar - Hover your cursor between the Name and Document Types fields to reveal the “Open details in sidebar” icon. Click on the icon to open the details sidebar. Within this sidebar, you can view the template details and perform edits. Once completed, close the sidebar and your edits will be saved automatically.

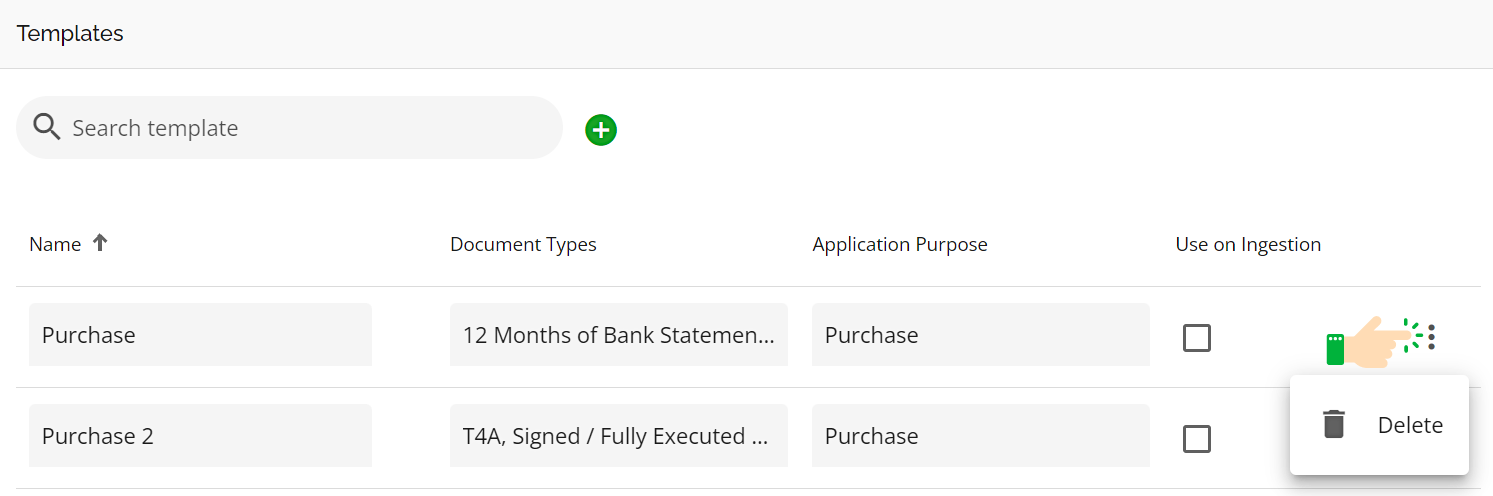
Ellipsis - Clicking on the ellipsis opens up the option to delete a document template if necessary.
Scroll Bars - The presence of the scroll bars depend on the size of your screen and the number of templates in the list. Located at the bottom of the list and to the far right of the screen. Use these to scroll vertically or horizontally to see what does not fit on the page.
Items Per Page - Depending on how large your list is, you may have more than one page of templates. To navigate through the pages, use the Items per page navigation at the bottom right hand side of your screen. With this functionality, you can indicate how many items per page you would like to see in groups of 10, 15, 25, 50, or 100. You can see how many pages there are and scroll forwards and backwards through the pages if need be.
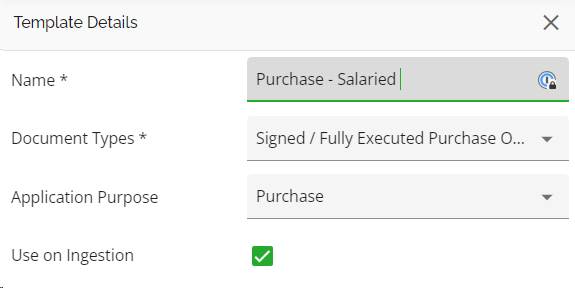
Adding a Template
To add a new template, follow these steps:
- Click on the "Add New Template" button.
- A popup sidebar will open to the right of the screen, providing input fields for the new template.
- Fill out the appropriate details for the template:
- Name (Mandatory) - Enter the name of the template e.g., Purchase.
- Document Types* - Select the document type(s) that will be included in the template. This is a multi-select field.

- Application Purpose - Select the Application Purpose the template is linked to. This is a single select field.
- Use on Ingestion - Select this checkbox if you want the template to be applied automatically upon application ingestion.
- Click on the "Add Template" button. Your template will be added to the list.

If you wish to cancel the process of creating a template, click on the cancel button.
Editing a Template
To edit the details of a template, follow these steps:
- Find the template you wish to edit.
- Navigate to the field you wish to edit and click on it.
- Update the data as necessary in the field.
The system will automatically save any updates made.
Alternatively, you can make edits in the templates sidebar. To do so, follow these steps:
- Hover your cursor between the Name and Document Types fields to reveal the “Open details in sidebar” icon.
- Click on the icon to open the details sidebar.
- Within this sidebar, you can view the template details and perform edits.
- Once completed, close the sidebar and your edits will be saved automatically.

Deleting a Template
To delete a template, follow these steps:
- Find the template you wish to delete.
- Click on the ellipsis to the far right and select the “Delete” option.
- Click on the “Remove” button in the pop-up that appears.
The template will be removed from the list.
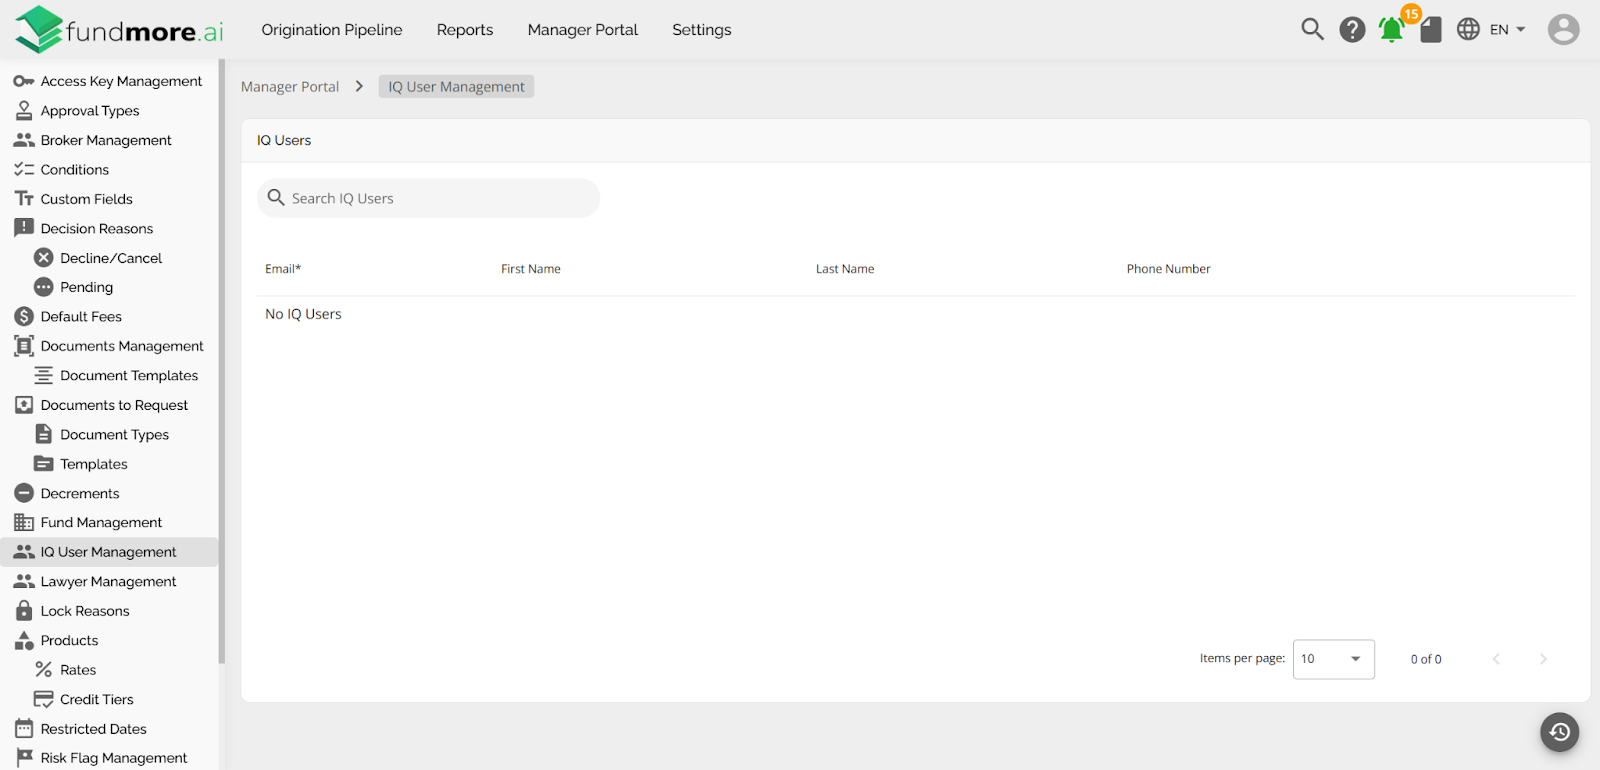
IQ User Management
To effectively manage users within the FundMore.IQ Portal, lenders have access to an IQ User Management section in the Manager Portal of the LOS. This feature allows for efficient oversight of user accounts, ensuring that only authorized personnel have access to the system.
When a document request is sent, the user receives an email prompting them to take action. The ideal first step before uploading documents is to sign up. However, sign-up is only possible if a request has been sent, and it can only be completed through the initial document request email by the user the request was sent to (i.e. the email must match the email for that stakeholder in the LOS). Once signed up, the user’s profile is added to the IQ User Management list. Email addresses cannot be modified by either the user or the lender within the IQ User Management section.
IQ User Management Items, Their Description & Functionality
Search Box - Located at the top left corner of the section. In the search box you are able to enter text/keywords to search for a specific user. Lenders can search for IQ users using the following criteria: Email, First Name, and Last Name. All users within the search criteria in them will appear in a list view.
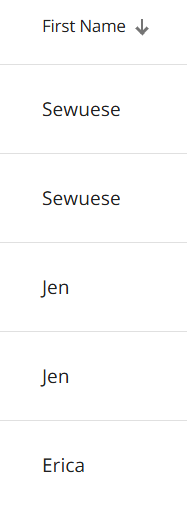
Sort the IQ User List - You can sort the IQ User list in ascending or descending order. Simply click on the arrow icon next to the column header you wish to sort by. When the arrow points upwards, the list is sorted in ascending order; when it points downwards, it is sorted in descending order. The arrow in the sorted column will remain fixed, indicating your chosen criteria.
|
Ascending: |
Descending: |
|
|
|

Column List Headers
The headers below marked with an asterisk (*) represent the mandatory fields.
Email - The user's registered email address, used for communication and account access.
First Name - The user's given name as recorded in the system.
Last Name - The user's family name or surname.
Phone Number - The user's contact number for communication purposes.
Ellipsis - Clicking on the ellipsis opens up the a dropdown menu with three options:

Reset MFA - Removes the existing multi-factor authentication (MFA) setup, requiring the user to reconfigure MFA during the next login.
Reset Password - Allows an administrator to manually reset a user's password, useful during account creation or if the user is unable to reset it themselves.
Deactivate Account - Deactivates a user's account and prevents further access to IQ.
To understand how the FundMore.IQ Management configuration in the Manager Portal carries through to the application level, refer to the FundMore.IQ PGF.